
You can install Exchange Server 2016 on Windows Server 2016 with either PowerShell or Graphical User Interface (GUI). However, in this article, I’ll focus on installation with the help of GUI.
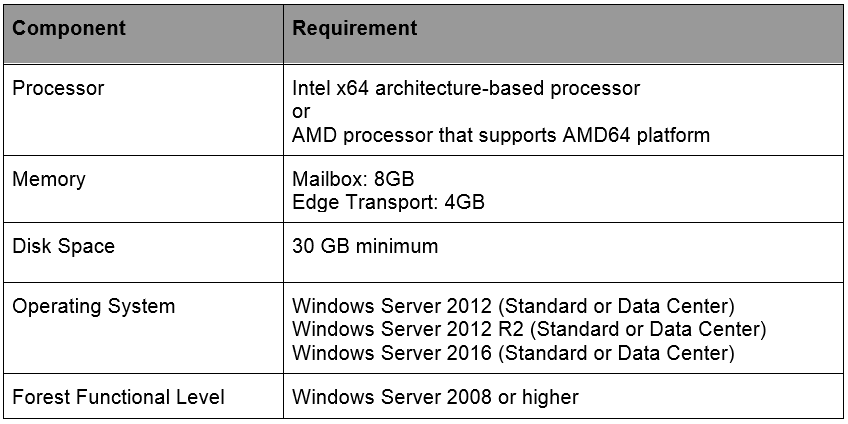
System Requirements
Exchange Server 2016 has following important system requirements. For details, please visit the following link:
https://technet.microsoft.com/en-us/library/aa996719(v=exchg.160).aspx
Installing Prerequisites
To get started, join the server machine with domain and then install the latest update (which is KB4034661 at the time of writing this guide) on Windows Server 2016. You can check the update history from the following location:
https://support.microsoft.com/en-us/help/4034661
Open Windows PowerShell with administrative privileges and run the sconfig utility. Write number 6 and then hit Enter from the keyboard.

Follow the wizard to download and install latest Windows Updates.

Next, install the required roles by issuing the following command.
|
1
|
Install–WindowsFeature RSAT–Clustering–CmdInterface, NET–Framework–45–Features, RPC–over–HTTP–proxy, RSAT–Clustering, RSAT–Clustering–CmdInterface, RSAT–Clustering–Mgmt, RSAT–Clustering–PowerShell, Web–Mgmt–Console, WAS–Process–Model, Web–Asp–Net45, Web–Basic–Auth, Web–Client–Auth, Web–Digest–Auth, Web–Dir–Browsing, Web–Dyn–Compression, Web–Http–Errors, Web–Http–Logging, Web–Http–Redirect, Web–Http–Tracing, Web–ISAPI–Ext, Web–ISAPI–Filter, Web–Lgcy–Mgmt–Console, Web–Metabase, Web–Mgmt–Console, Web–Mgmt–Service, Web–Net–Ext45, Web–Request–Monitor, Web–Server, Web–Stat–Compression, Web–Static–Content, Web–Windows–Auth, Web–WMI, Windows–Identity–Foundation, RSAT–ADDS
|
The final prerequisite is to download and install Microsoft Unified Communications Managed API 4.0, Runtime.
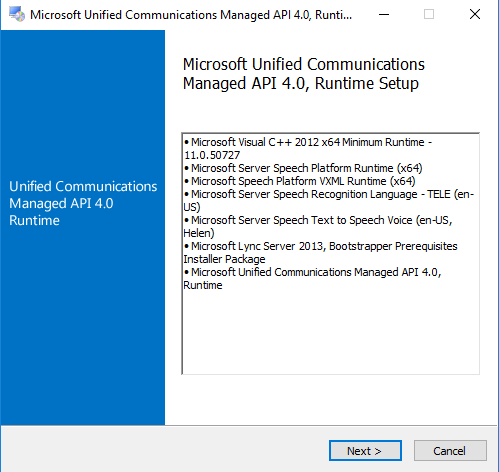
Click Next.
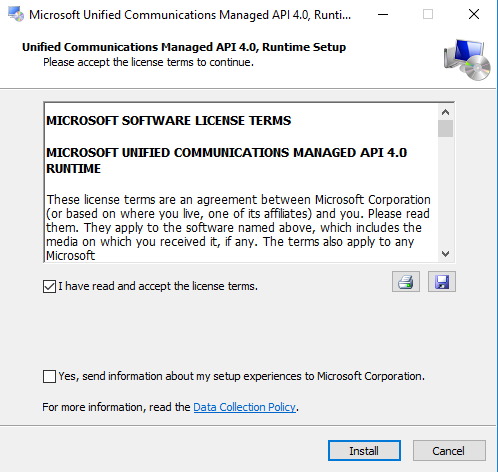
Read and accept the license terms. When you are done, click Install.
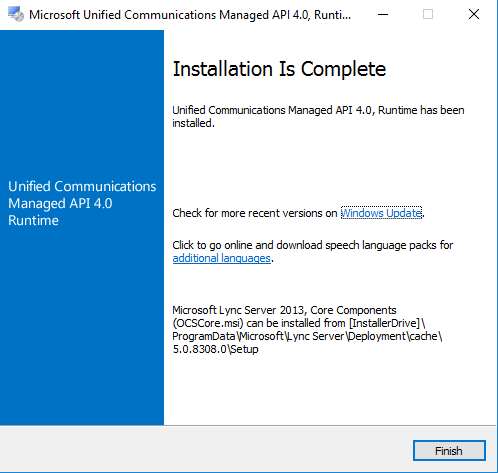
When an installation is completed, click Finish.
Extending Schema and Preparing Active Directory
After you have fulfilled the prerequisites, this is the time to extend the schema and prepare an active directory. Mount the Exchange Server 2016 installation media on a domain controller. Open a PowerShell, go to a drive where setup files are located and then issue the following command.
|
1
|
setup.exe /PrepareSchema /IAcceptExchangeServerLicenseTerms
|
Prepare the active directory by issuing the following two commands on PowerShell console.
|
1
|
Setup.exe /PrepareAD /OrganizationName:<Organization name> /IAcceptExchangeServerLicenseTerms
|
|
1
|
Setup /Preparedomain /IAcceptExchangeServerLicenseTerms
|
Installing Exchange Server 2016
To install the latest version of Exchange Server 2016, download the latest cumulative update for Exchange Server 2016 (which is Cumulative Update 6 at the time of writing this guide). The cumulative update is a full installation of exchange and includes updates and changes from previous CU’s. When you have downloaded the iso file, or if you have an installation media in the form of DVD, mount it and then double-click the EXCHANGESERVER.msi file.
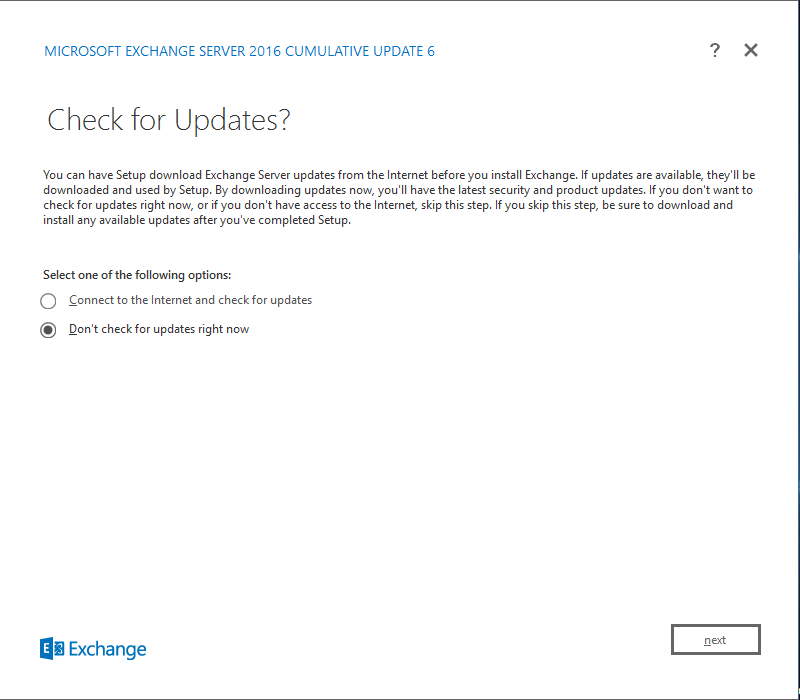
Check ‘Don’t check for updates right now’ to install the updates after the setup has been completed. Click next.
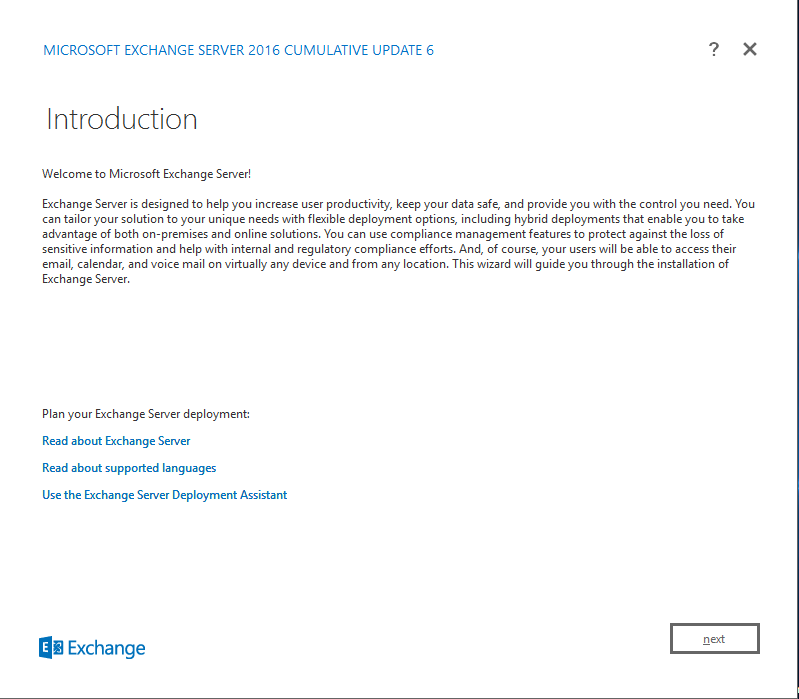
On the introduction page, click Next.
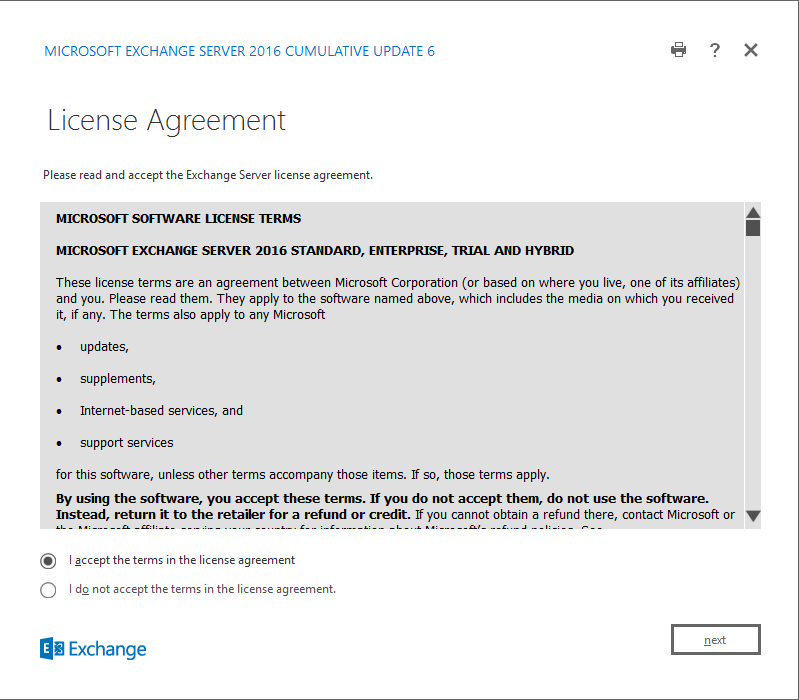
Read and accept the license agreement by clicking the corresponding checkbox. Click Next.
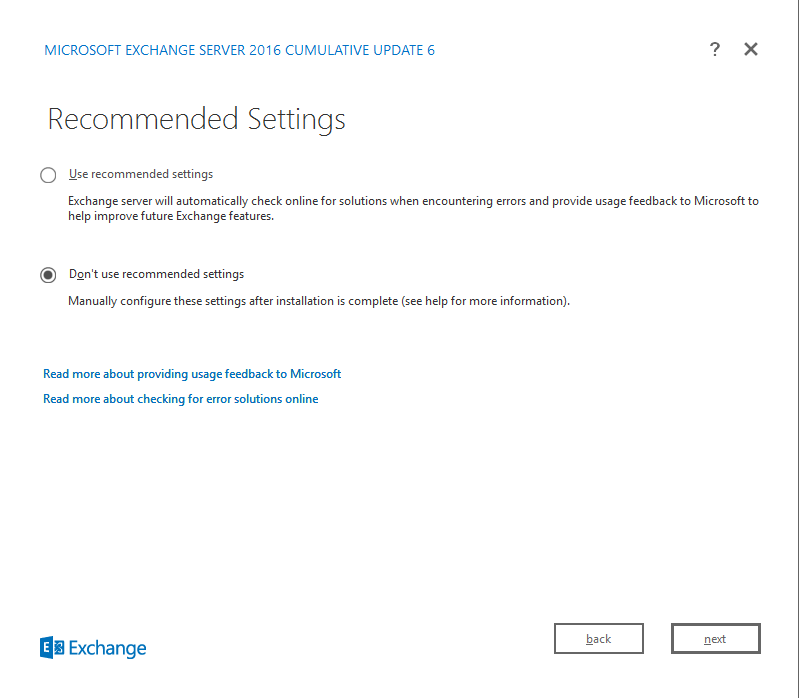
Click ‘Don’t use recommended settings’ and then click Next.

On the Server Role Selection page, check Mailbox role and then click Next.
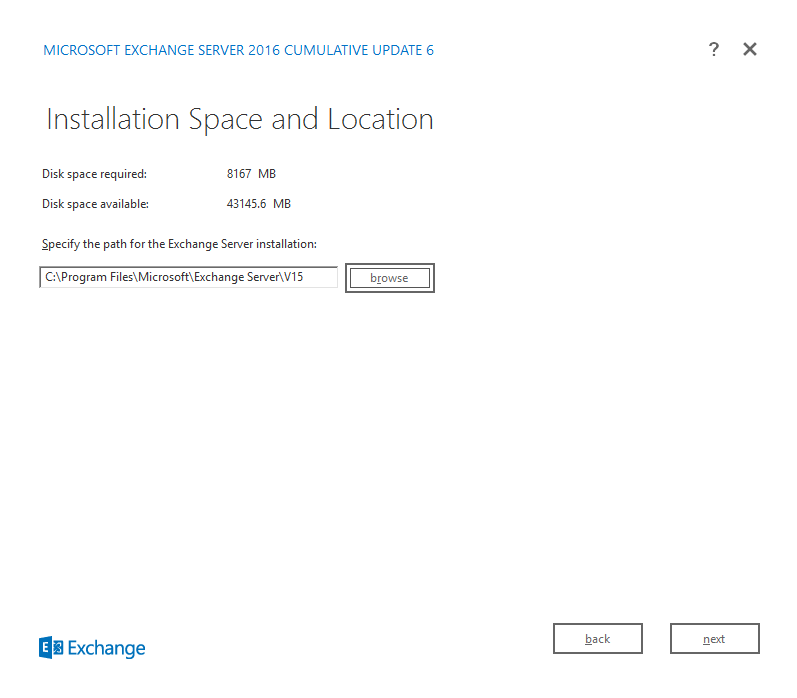
Change the path for the Exchange Server installation if you would like otherwise leave it as default. Click Next.
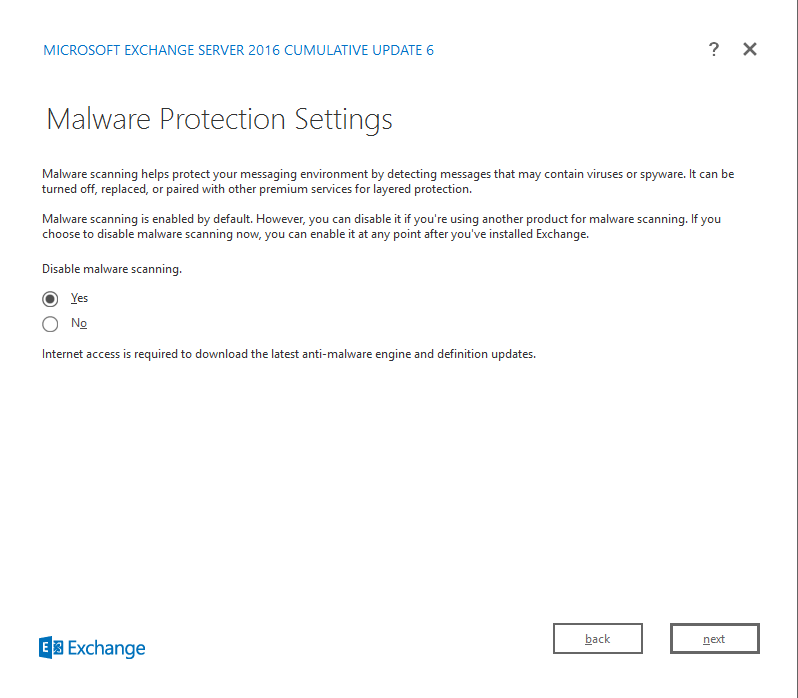
Check ‘Yes’ to disable malware scanning and then click Next.

After the prerequisite analysis has been completed, click install and wait for the installation to finish.
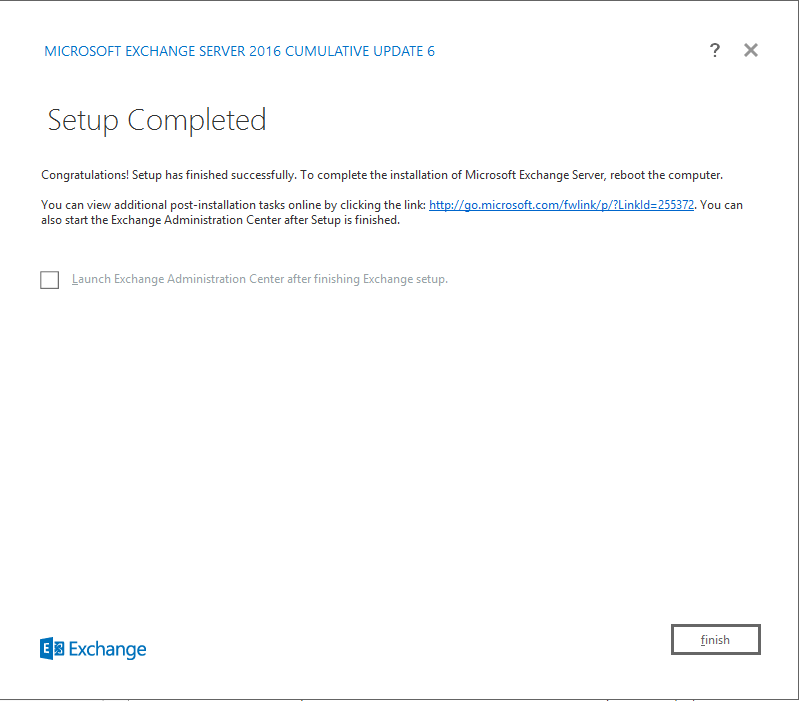
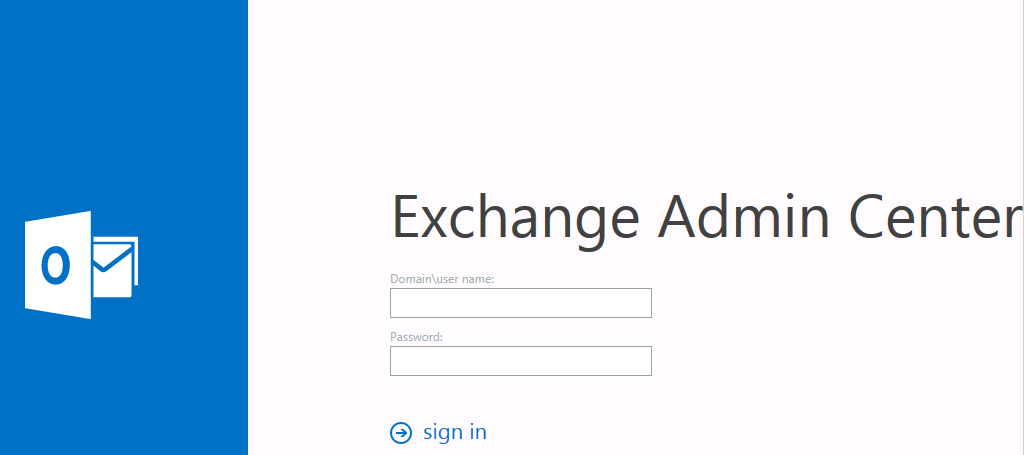
Click Finish after the setup has been completed and then reboot the computer. When you have rebooted the computer, open the following link in your favorite web browser:
https://Your Exchange Server FQDN/ECP
Good luck and thanks for reading