
What is NFS Server?
Using the NFS protocol, you can transfer files between computers running Windows and other non-Windows operating systems, such as Linux or UNIX.
In Windows Server 2016, NFS includes the components, Server for NFS and Client for NFS. Server for NFS enables a computer running Windows Server 2016 to act as a NFS file server for other non-Windows client computers. Client for NFS enables a Windows-based computer that is running Windows Server 2016 to access files that are stored on a non-Windows NFS server.
For this demo, Infrastructure Requirement:
- 1 DC SERVER (DC-CLOUD.Sifad.ae)
- 1 Client PC running Windows 10 (CLIENT-10)
Installing NFS Server.
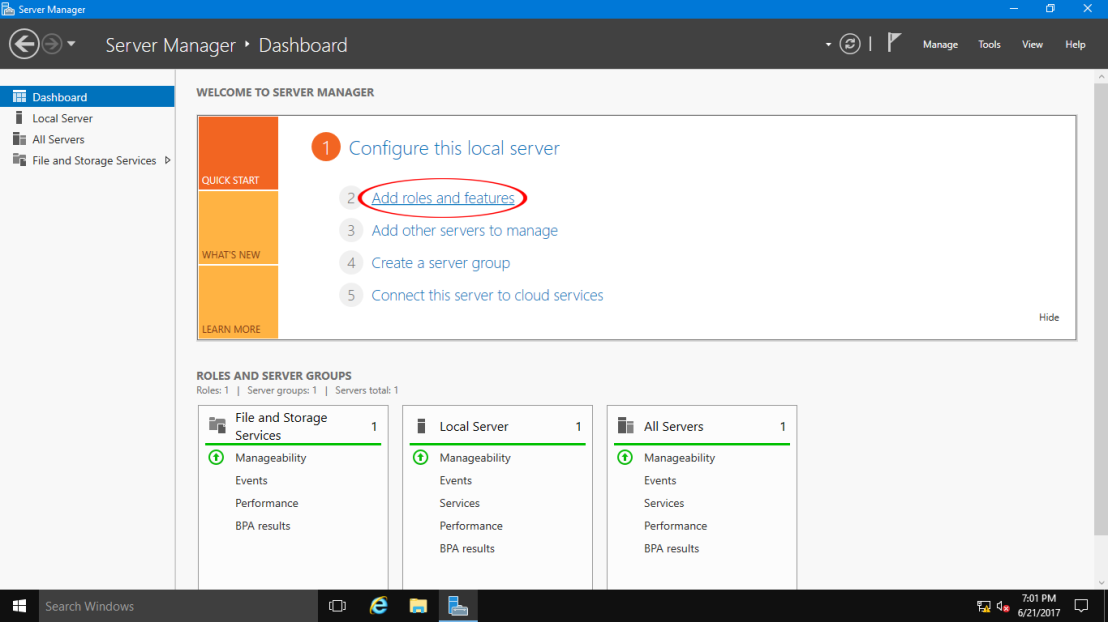
01 – Open Server Manager and Click Add roles and features.
02 – Click Next button.

03 – Select Role-based or feature-based installation.

04 – Select a Host which you’d like to add services.

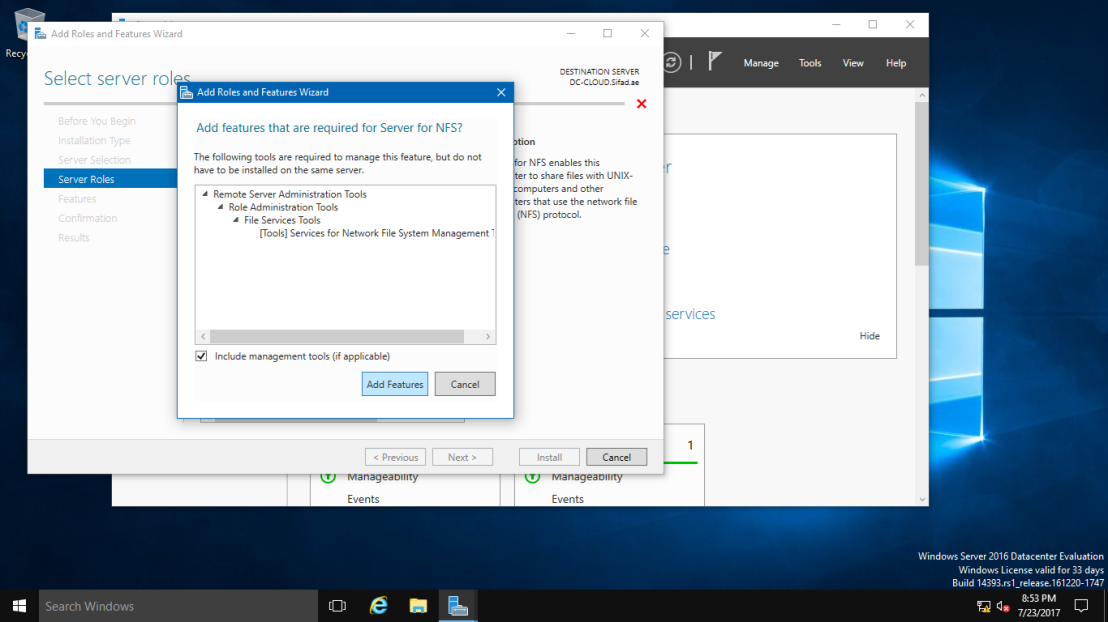
05 – Check a box Server for NFS.

06 – Addtional features are required to add NFS Server. Click Add Features button.
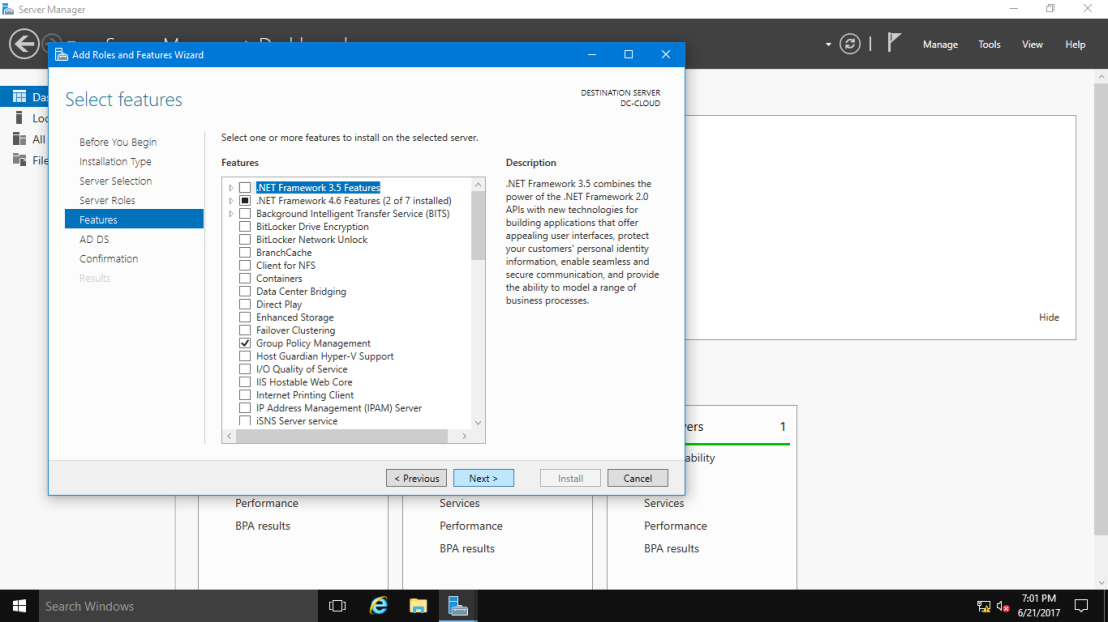
07 – Click Next button.

08 – Click Next button.
09 – Click Install button.

10 – After finishing Installation, click Close button.

Configure NFS Shared Folder.
01 – Open Server Manager and Click File and Storage Services.

02 – Select Shares on the left pane and click TASKS – New Share.

03 – For example, select NFS Share – Quick on here.

04 – For example, configure a specific folder as shared one, so check a box Type a custom path and input the path for specific folder you’d like to set as shared folder. (set as “Share” on this example).

05 – Input local and remote share path.

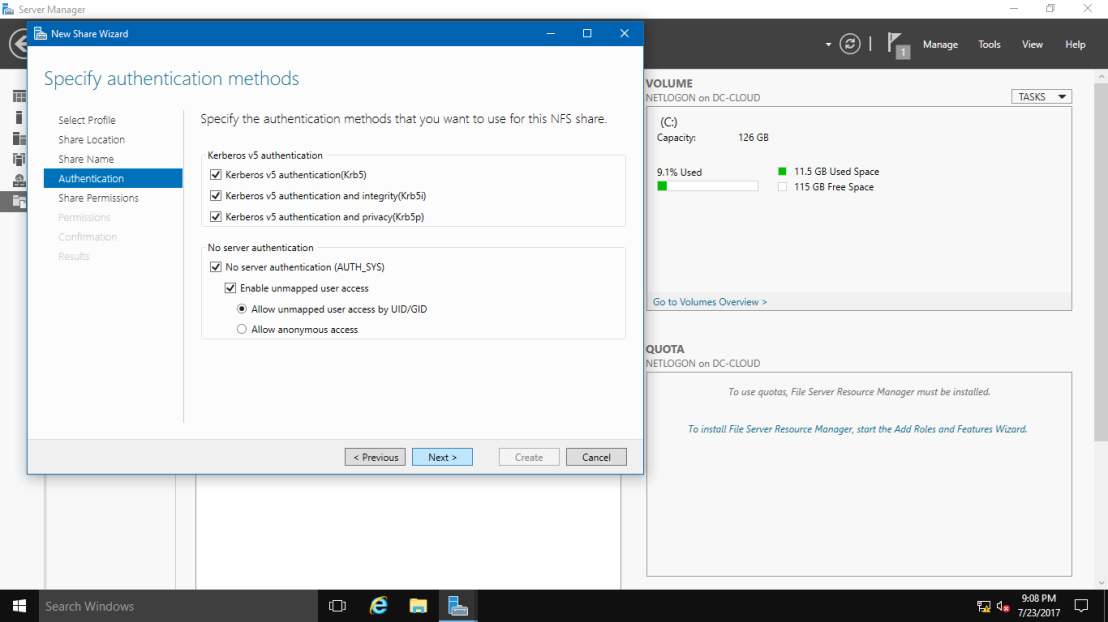
06 – Specify authentication methods.
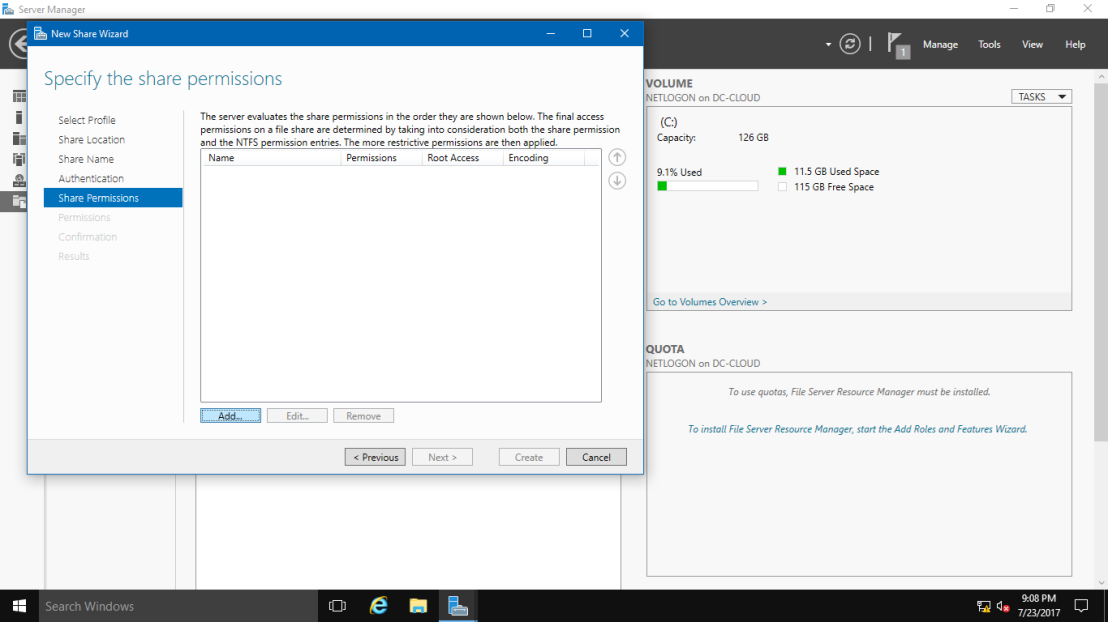
07 – Set the share permissions. Click Add button.
08 – Specify the Hosts you’d like to grant access permissions like the example below.

09 – Click Next button.

10 – Specify permissions to control access on here.

about:blankREPORT THIS AD
11 – Confirm selections and it’s no problem, Click Create button.

12 – After finishing creating, Click Close button.
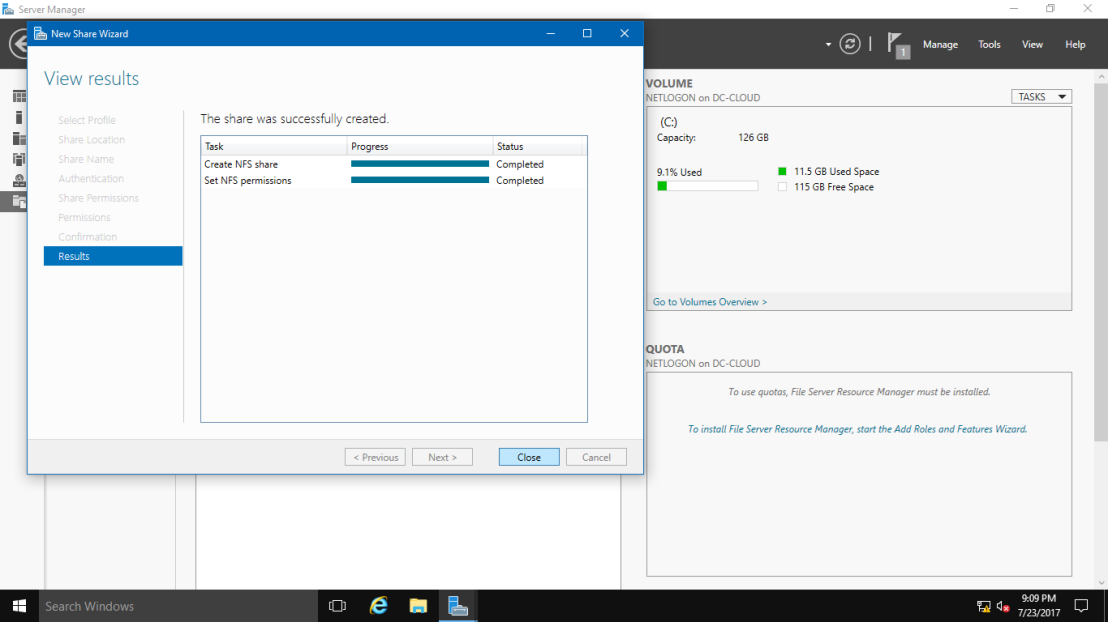
13 – NFS shared folder has been just configured.

Configure NFS Server (Linux OS).
01 – Run Terminal and input commands like follows. (Please Refer to the Pictures)
mount [NFS server’s Hostname or IP address]:/[share name] [Local Folder Name to mount]

Configure NFS Client (Windows Client OS).
01 – Open Control Panel – Programs and Features then Check a box Client for NFS and click OK button.

02 – Run Command Prompt and input commands like follows.
mount [NFS server’s Hostname or IP address]:/[share name] [Local Drive to mount]:\

03 – Run Explorer, then NFS share folder is displayed.

Thanks!