
Deploy OVF Template
Note: The current version of vCenter in the example below is version 5.5.
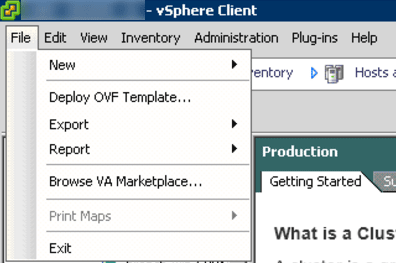
To deploy an OVF template, open the vSphere Desktop Client. On the top-left, click File and select Deploy OVF Template.
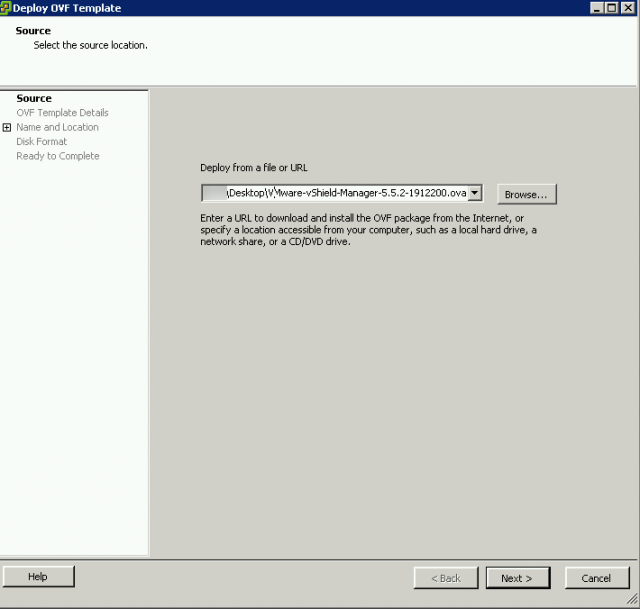
In the next window, browse to the path containing the OVA file. In the example shown, I am deploying VMware vShield Manager 5.5.2 Build 1912200.
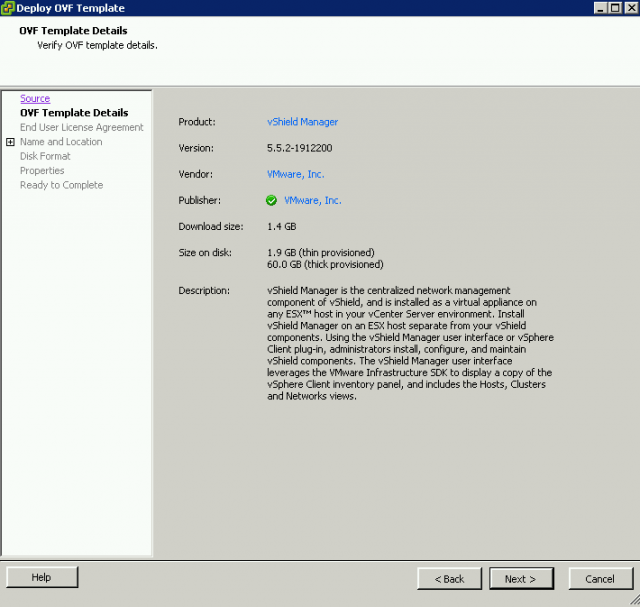
The OVF template details will appear in the next window.
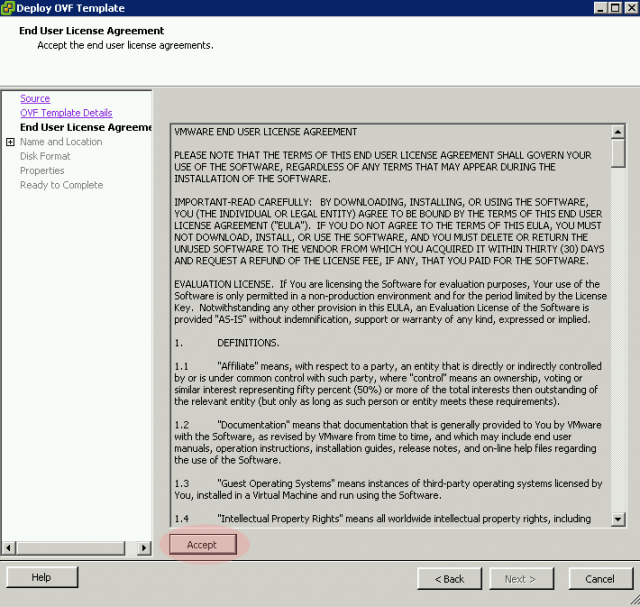
Accept the agreement, then click Next.
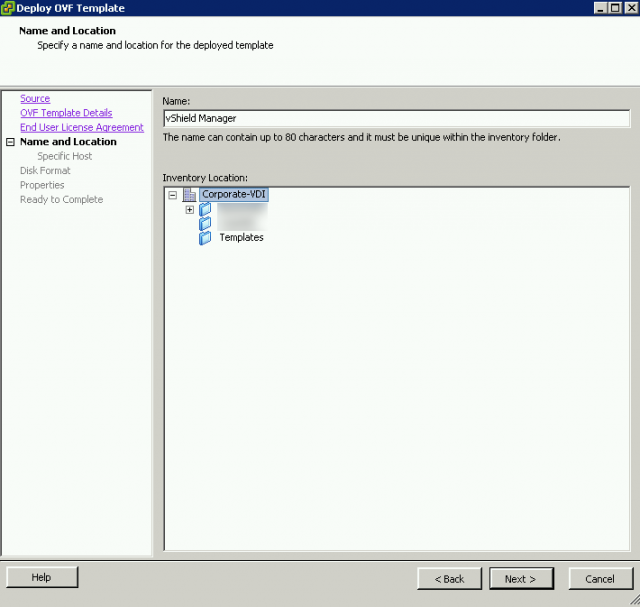
In the next window, give the virtual machine a name and select the inventory location.
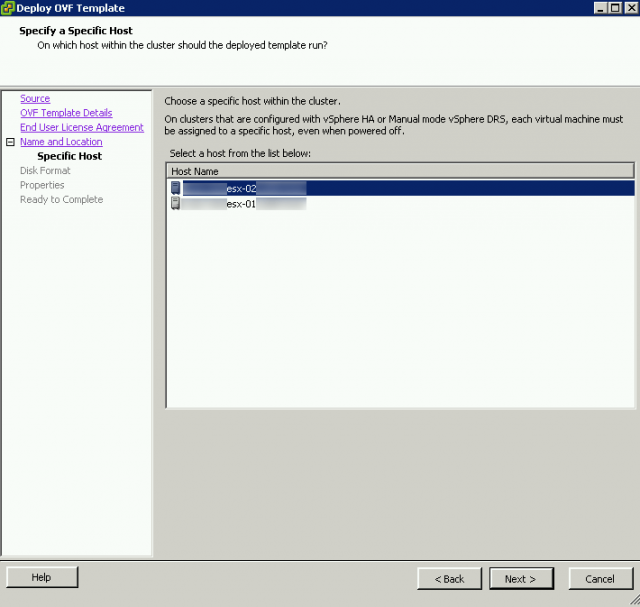
Next, specify the host to be used.
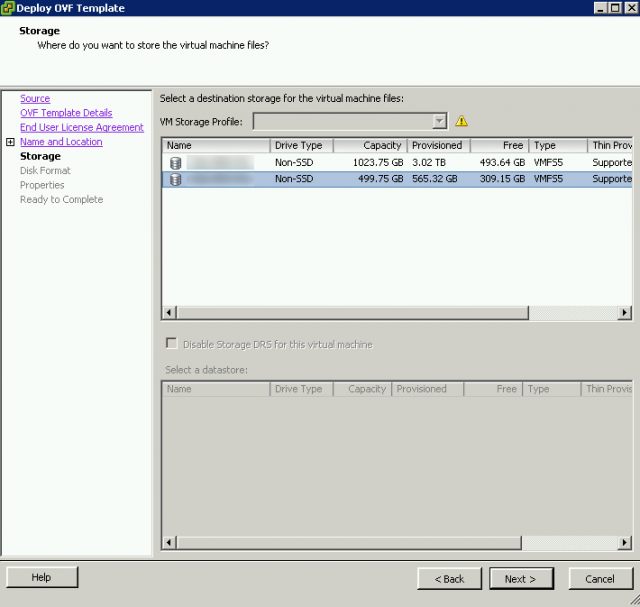
Once the host has been specified, you will be prompted to select a volume.
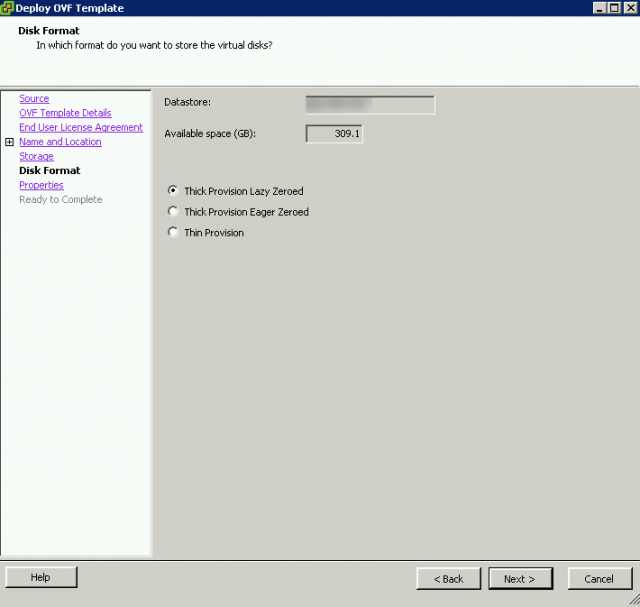
Select the type of provisioning desired.
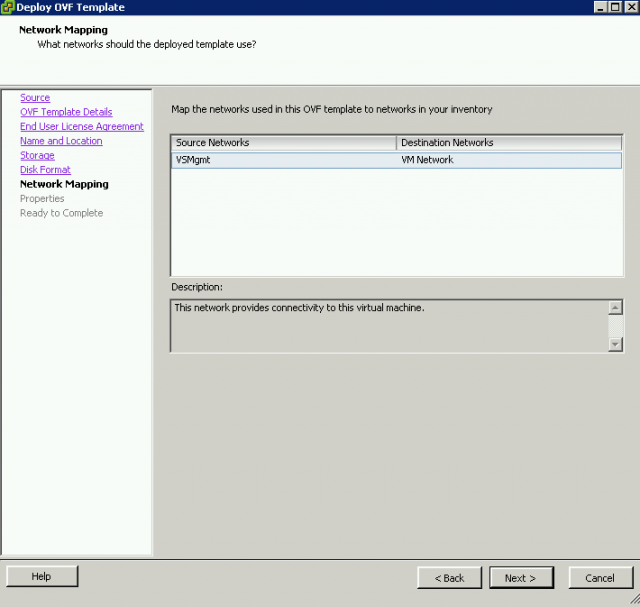
Select a network to manage the virtual appliance.
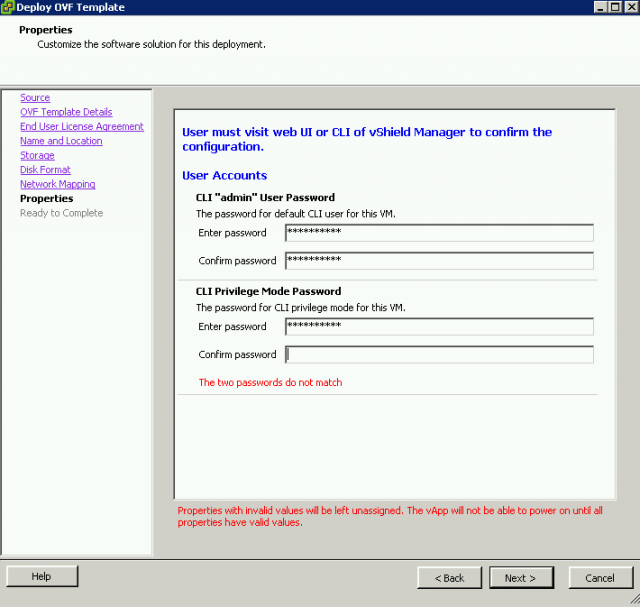
Depending on the OVA / OVF being deployed, the configuration may end here or the appliance may need some additional options configured. With the newer versions of vShield Manager, a prompt will appear to configure the default CLI “admin” User Password and the default CLI Privilege Mode Password. If the passwords do not match, you will be prompted that the values are invalid.
In older versions of vShield Manager, credentials will be:
Username: admin
Password: default.
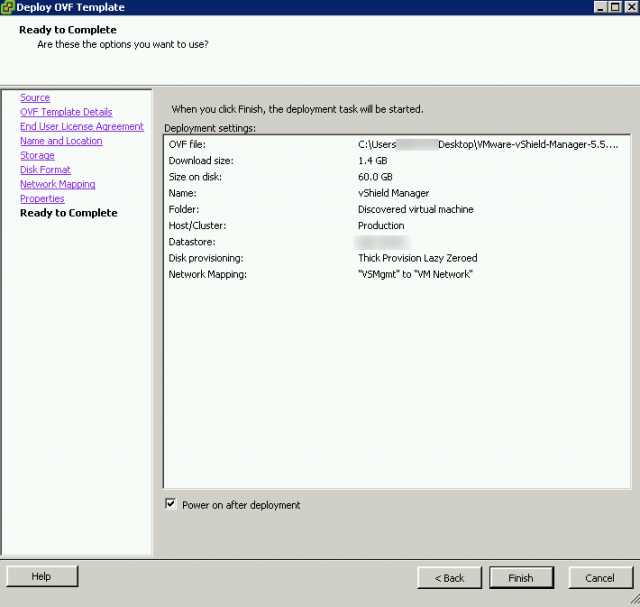
The next menu will summarize the options to apply for the deployment of the appliance.
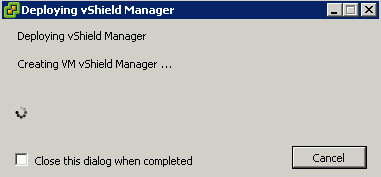
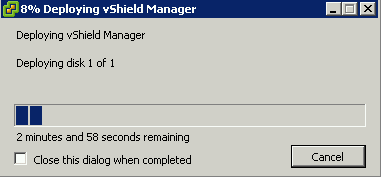
Once Finish is selected, a window will appear and provide the status of the deployment.
Once complete, a window will appear and show that the deployment completed successfully.
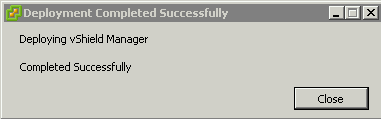
Deployment has been completed.