
How to Configure Telnet Server on Windows Server 2008
Last week I needed to setup Telnet server on a Windows Server 2008 box. The setup is straight forward except for a few little things and one big one. One thing hung me up for a little while but I eventually found it. If you need to set up Telnet server, here’s how.
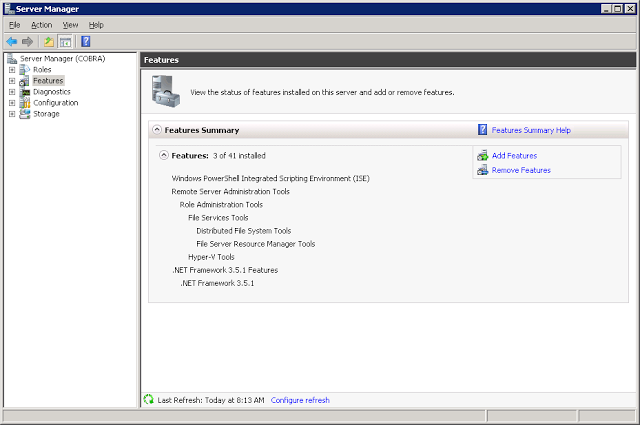
Add a Feature
Right click on Computer and select Manage to launch Server Manager. Select Features in the left pane and click Add Features in the right.
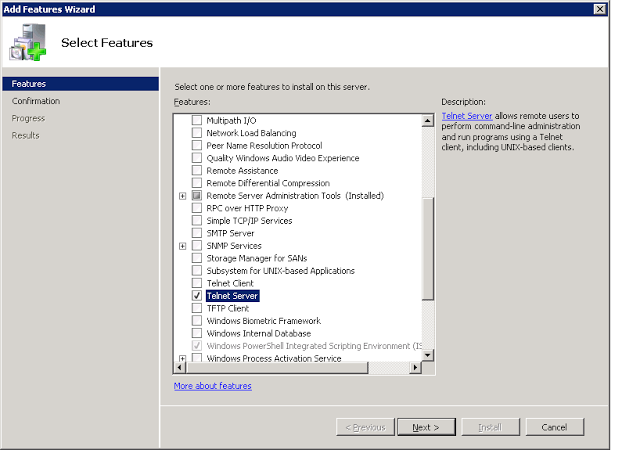
In the Add Features Wizard, scroll down and select Telnet Server. Click Next and Install.
Telnet Service
Once the installation is complete, you’ll need to start and configure the Telnet service. This is held me up for a minute or two when I installed Telnet server the first time. I expected the server to start after the install was finished.
Go back to Server Manager, select Configuration and Services in the left hand pane. In the right hand pane, double click on the Telnet service. Set the Startup Type to Automatic to have the Telnet server start at startup or set it to Manual to have manual control over the server.
Once you’ve configured the Telnet service, right click on it and select Start.

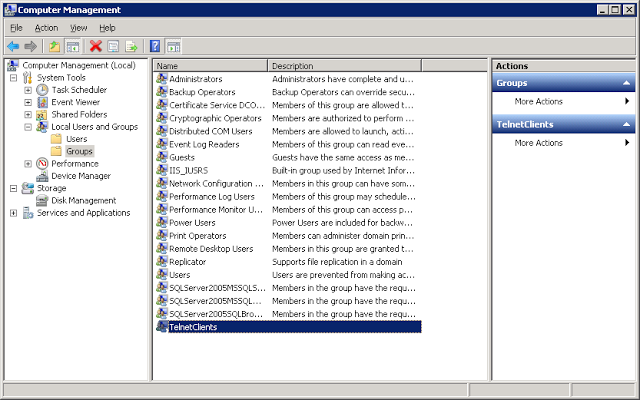
Telnet Users
The last step is to add the required users to the TelnetClients group. Go back to Server Manager and selectLocal Users and Groups in the left pane. Double click the TelnetClients group on the right and add the users you need to grant Telnet access to the server. If the server is a domain controller, you’ll need to do this in theActive Directory Users and Computers management console.
Now you should be able to Telnet to your server. Make sure you understand how your passwords are sent across the network when logging into your Windows server with a Telnet client and enjoy remoting into your server’s CLI.