Converting PFX File to .Pem file using OpenSSL in Windows 10 .
Windows 10 – Version 1607 or Above –

Some Application never allow .pfx file to import directly. Running Ubuntu Bash shell become much simpler in Windows 10
In Windows 10 you can have a linux subsystem . It’s a great feature for sys admins for these sort of tasks.
Start – Run – Appwiz.cpl – Turn Windows Features on or off.


Note : All Commands and Directory Names are Case Sensitive
List the Drives you can mount –
| cd /mnt/ |
Press TAB to list the Drives. Mounting F Drive.
| cd /mnt/f |


Change Directories get inside c:\cert –
| cd /mnt/f/cert/ |
List Directories –

To Export private key from the Pfx File and Make .PEM file –
| openssl pkcs12 -in mycert.pfx -nocerts -out key.pem -nodes |

To Export Certificate from the Pfx file to .PEM file –
| openssl pkcs12 -in mycert.pfx -nokeys -out cert.pem |

Remove the Passphrase from Key.Pem File (Optional) –
| openssl rsa -in key.pem -out server.key |

To Export to .crt
| openssl pkcs12 -in mycert.pfx -clcerts -nokeys -out mycert.crt |

Remove the Passphrase from Key.Pem File (Optional) –
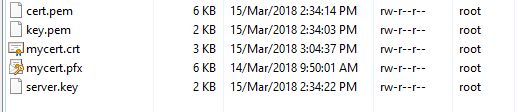
You can see below files –