
Configuring KMS with Windows 2012 Server Roles
Step-By-Step Installing the Volume Services Role for KMS
To begin the installation of the KMS host in the Windows Server 2012 / 2012R2 machine, begin by adding a role:

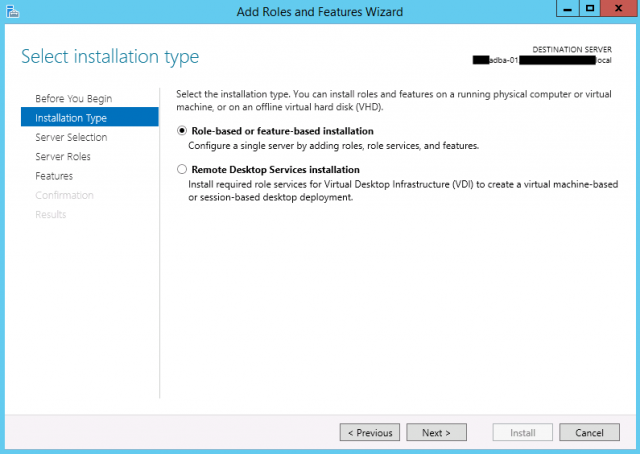
On the next screen, select Role-based or feature-based installation:
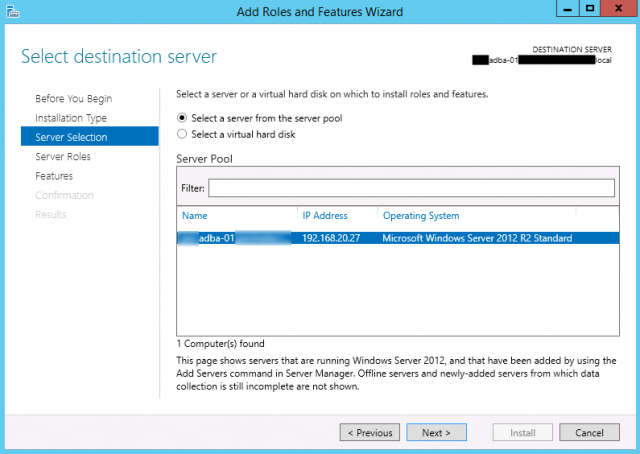
Select the server where the roles will be installed:
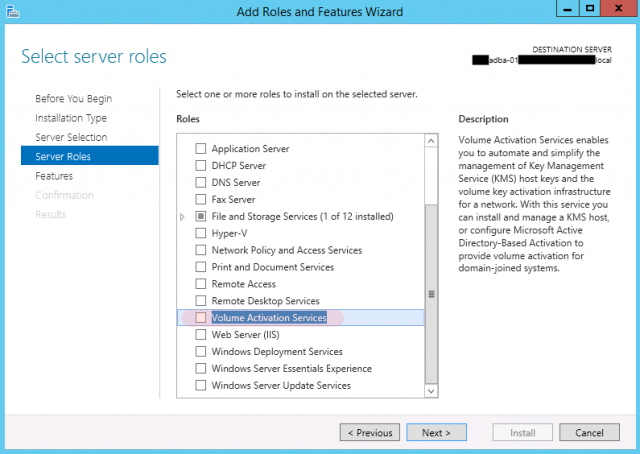
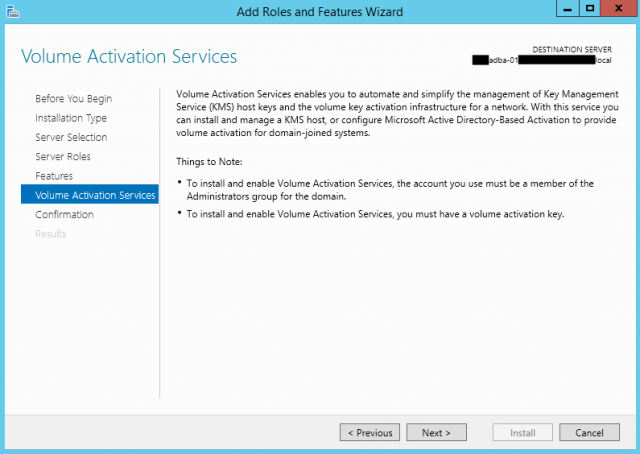
On the Add Roles and Features Wizard, select Volume Activation Services.
Note: The Volume Activation Services role is not required to configure a KMS Server. For management purposes, it is highly recommended that this role be utilized versus the traditional KMS Server model.
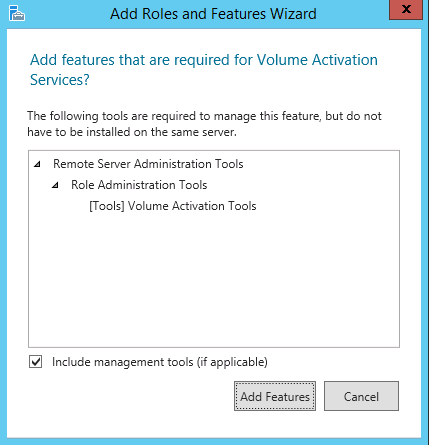
The server will prompt for any additional roles or features needing to be installed.
The Volume Activation Services screen will provide a quick description regarding what is provided by installing the Volume Activation Services role. This will allow the installation of a KMS host or configure an Active Directory-Based Activation server.
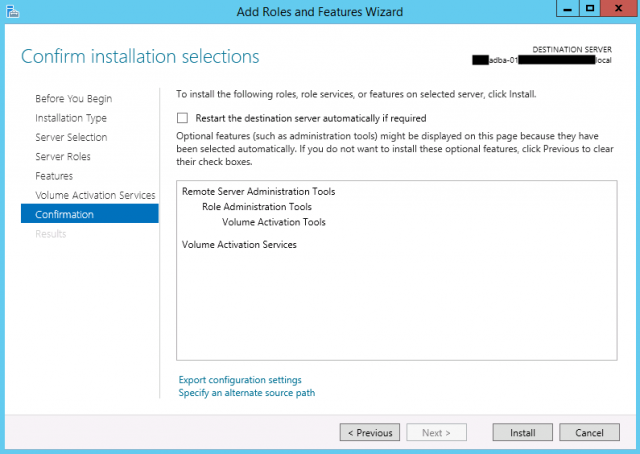
The next screen will provide a summary of what is to be installed on the system:
Utilizing Volume Activation Tools to Configure KMS
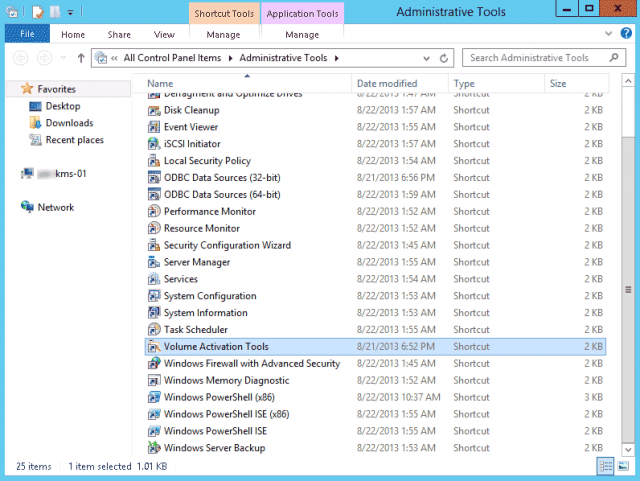
Once the installation of the Volume Activation Services role has been completed, Volume Activation Tools (found under Control Panel > Administrative Tools > Volume Activation Tools) will need to be opened:
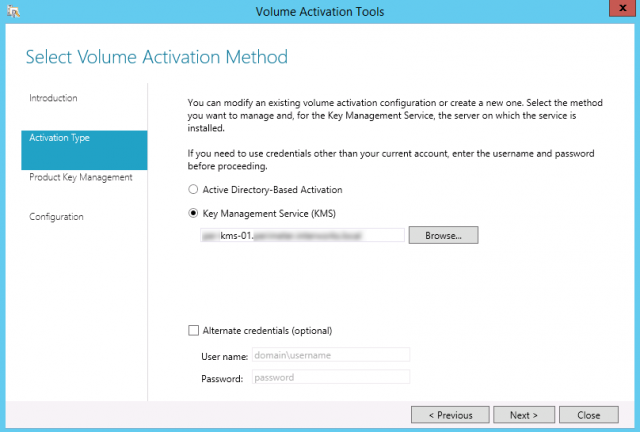
If you previously installed KMS via the command line method found in this article, the Key Management Service (KMS) field will be highlighted. If you are logged onto an account that does not have permissions to install KMS, an alternative account can be used.
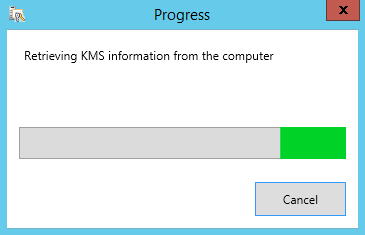
Once Next is selected, Windows will begin scanning for KMS information:
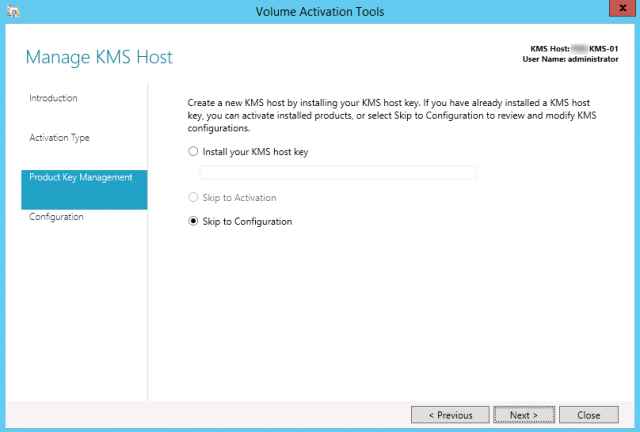
The next window will allow you to install the KMS host key. Since the OS being used in this case is a Windows Server 2012R2, I need to make sure I enter in a 2012R2 key. You will not be able to utilize a license for a different operating system. In my example below, since I already installed KMS through the command line method, Windows automatically detected that a KMS key was utilized and highlighted Skip to Configuration:
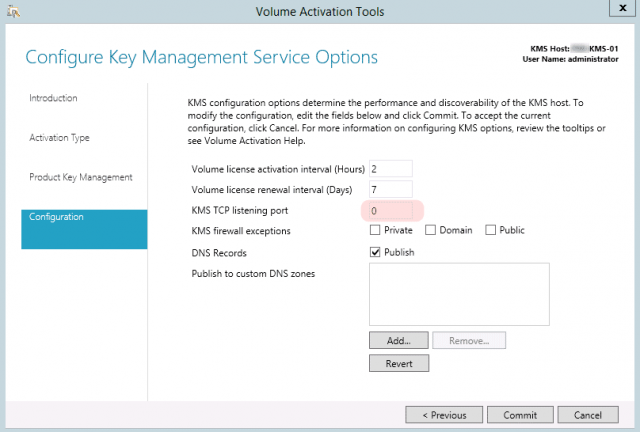
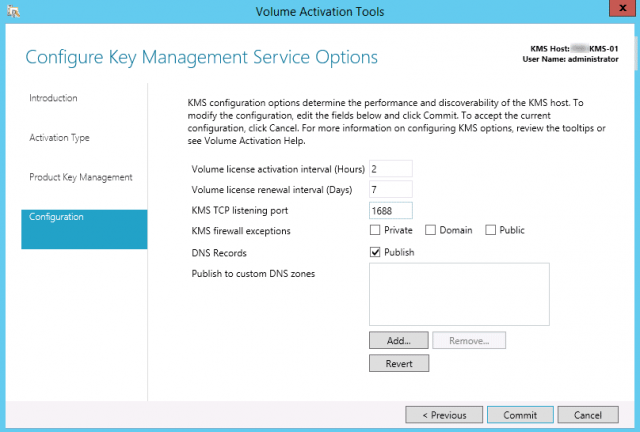
The Configuration window prompts to add for any KMS firewall exceptions and the KMS TCP port. In my example below, Windows Firewall was turned off so no exceptions were needed. Additionally, the default the KMS TCP listening port is set to 0 by default. The KMS TCP listening port should be configured to 1688.
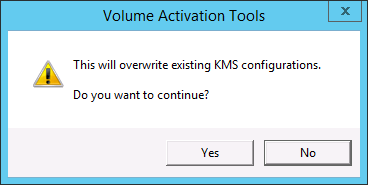
Once Commit is selected, a prompt will appear stating that existing KMS configurations will be overwritten:
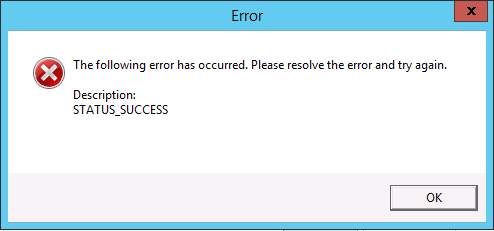
If the KMS TCP listening port was left on the default port, an error will appear below with description STATUS_SUCCESS. Fortunately, this is a quick fix.
Navigate back to the Configure Key Management Service Options window and adjust the KMS TCP listening port to 1688:
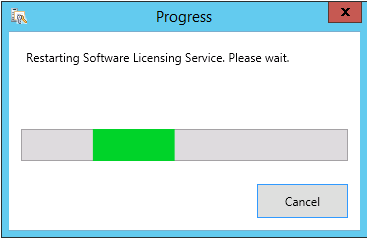
Once Commit is selected, Windows will restart the software licensing service. This is a fairly quick process for newer KMS servers and should cause minimal disruption in your environment.
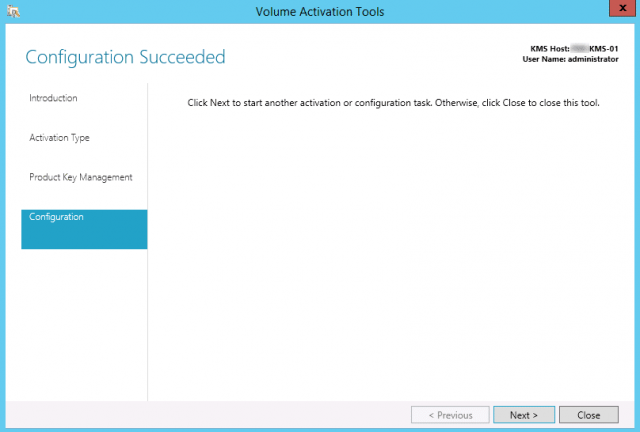
The next window will display that the configuration has completed. Click Close to exit the KMS configuration. If KMS settings need to be changed, click Next and run through the process again.
If this is a new KMS host, it is strongly recommended that the Windows activation command be executed in a command prompt to make sure that the Microsoft key has been registered with Windows. Run the command below to make sure that has been completed:
slmgr /ato
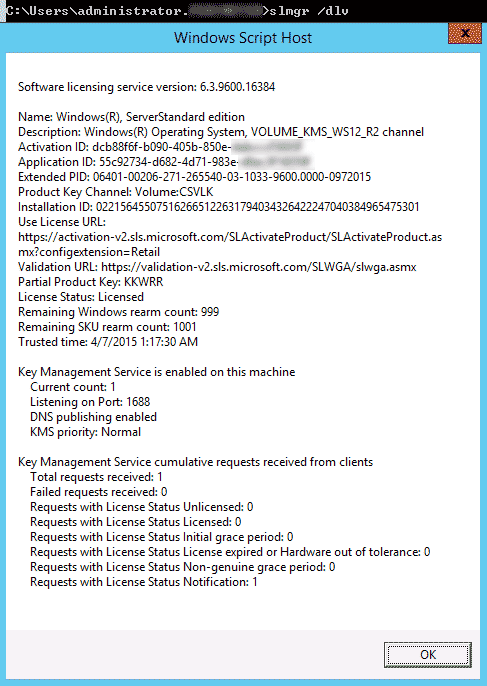
Additionally, it is a good idea to make sure that your KMS server is now checking for KMS keys. Run the following command:
slmgr /dlv
Resources Used: