
Create and Configure Virtual Machine with PowerShell
Create New Virtual Machine
Let’s go to create the new virtual machine. Type
new-vm -vmname test -memorystartupbytes 1GB

Create Virtual Hard Drive
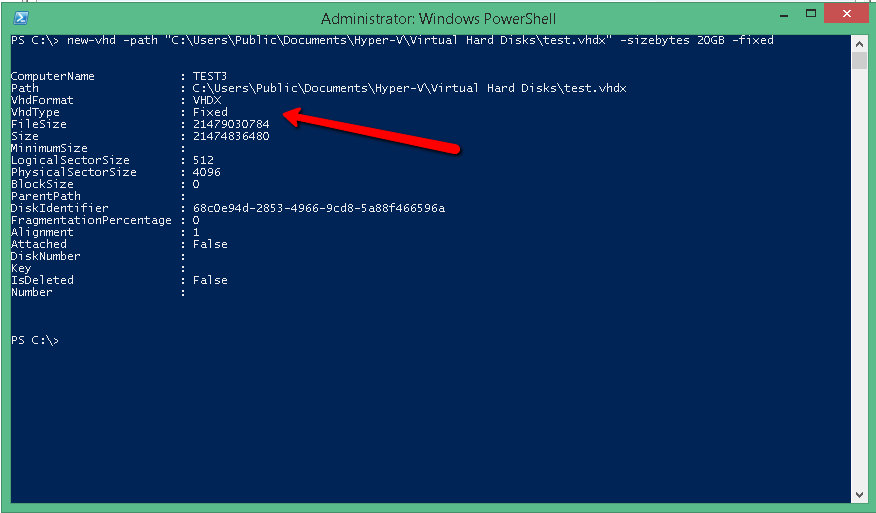
new-vhd -path “C:\users\Public\Documents\Hyper-v\Virtual Hard Disks\test.vhdx” -sizebytes 20GB -fixed

Use the -fixed to determine that your Virtual Hard Drive will be fixed. Because by default use Dynamic Virtual Hard Disk Type.
After create the Virtual Hard Disk you will see the results to verify the type of your VHD.
Attach Virtual Hard Drive in the Virtual Machine
add-vmharddiskdrive -vmname test -path “C:\users\Public\Documents\Hyper-v\Virtual Hard Disks\test.vhdx” -controllertype IDE -controllernumber 0 -location 1

Connect Network Adapter in Virtual Machine
Find the name of the Network Adapter for the new Virtual Machine
get-vmnetworkadapter -vmname test

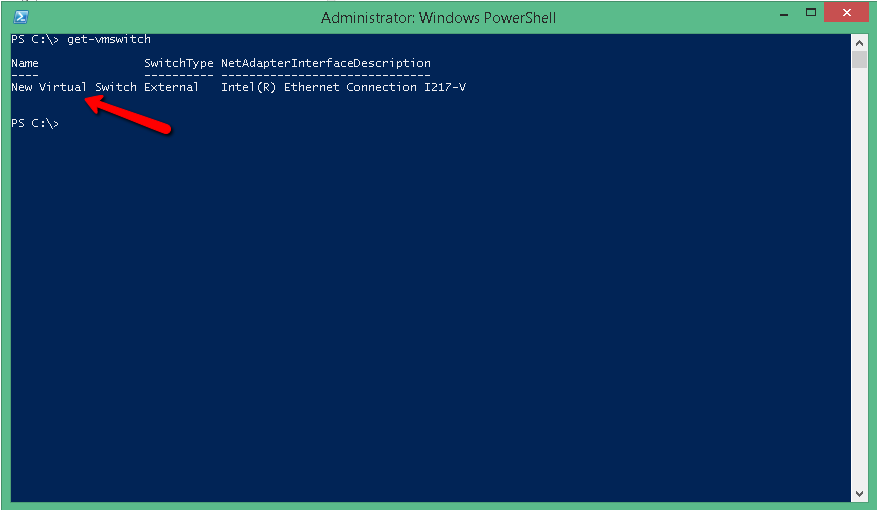
Identify the name of the Virtual Switch from HYPER-V Host that will be connect.
get-vmswitch
Connect the network adapter of the new Virtual Machine with the Virtual Switch. So now your Virtual Machine is connected in the network that use the Virtual Switch.
connect-vmnetworkadapter -vmname test -vmnetworkadaptername “network adapter” -switchname “new virtual switch”.

Verify the connection with
get-vmnetworkadapter -vmname test

Specify ISO to boot the VM
set-vmdvddrive -vmname test -controlnumber 1 -path “C:\users\user\Documents\ISO\Windows8.1 Professional_w_SP1_x64.ISO”

Start the VM to install the Windows
start-vm -vmname test

This article explains only basic commands on how can create a new Virtual Machine and configure it.