
Configure a multiscope DHCP server to work with VLANs on Windows Server 2012
In order to take advantage of the full capabilities of LAN segmentation (VLAN), you need to properly configure a DHCP server with different scopes (multiscope setup). Windows Server offers a simple solution to the problem and we are going to see how to perform the operation.
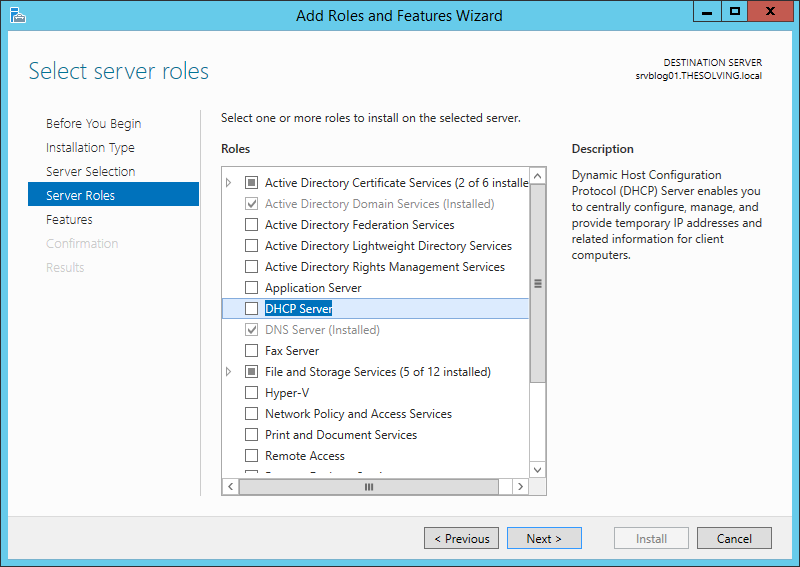
The first step is to install the DHCP server role:
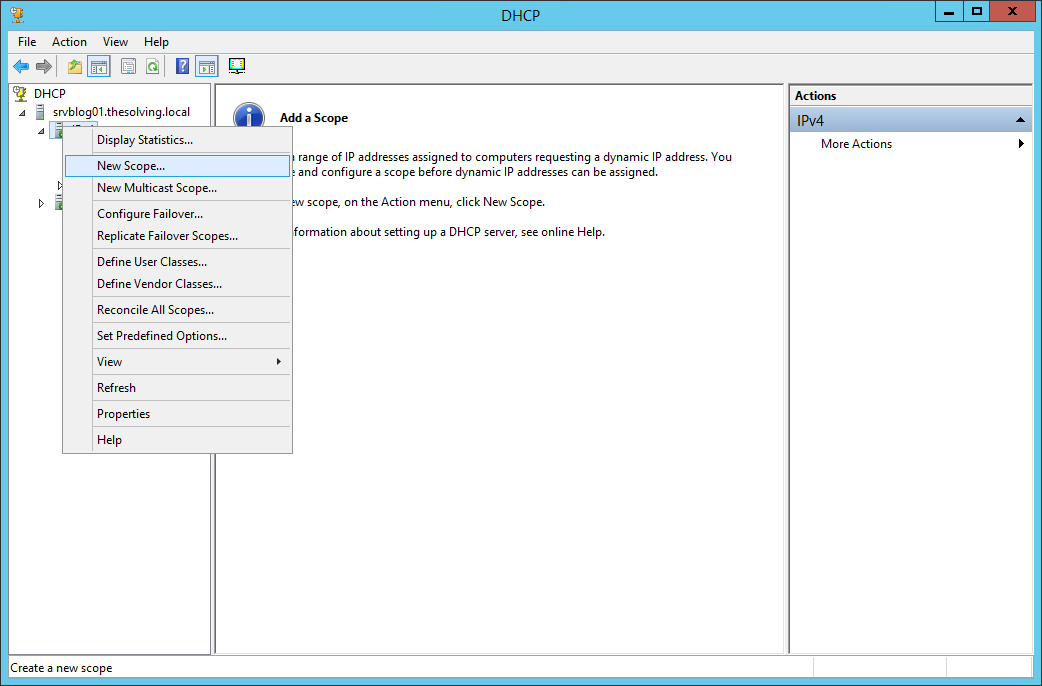
Then open the DHCP management panel:

Right-click on IPv4 and select New Scope, a Wizard will start:
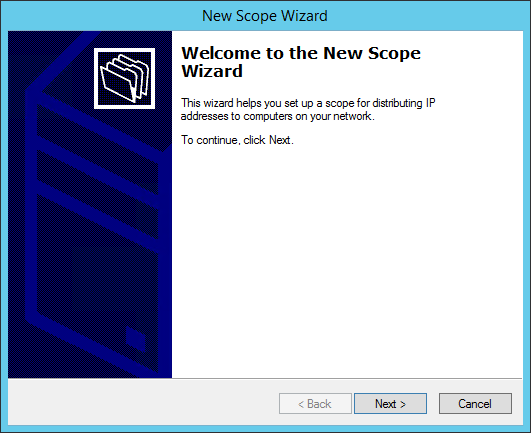
Click Next:
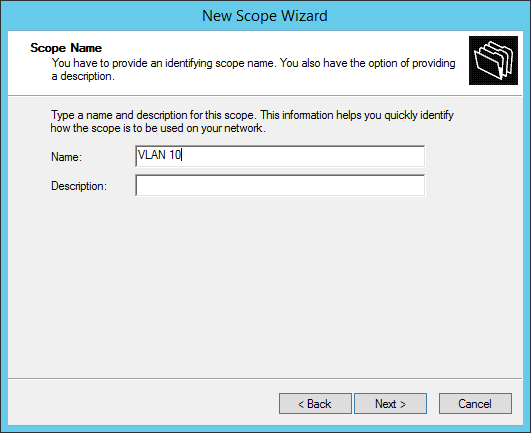
Give a name to the scope:
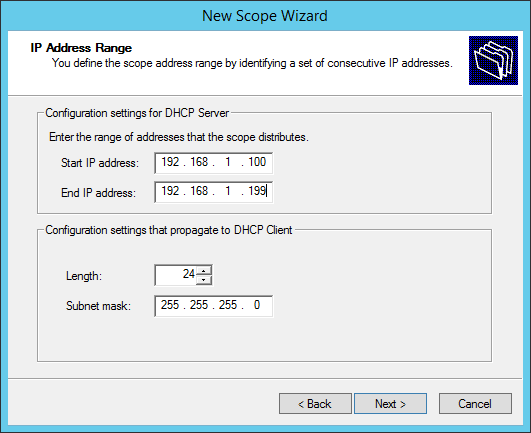
Specify the range of IP addresses that will be assigned by the scope. Note, we are configuring a scope for the VLAN 10 (IP range 192.168.1.xyz):
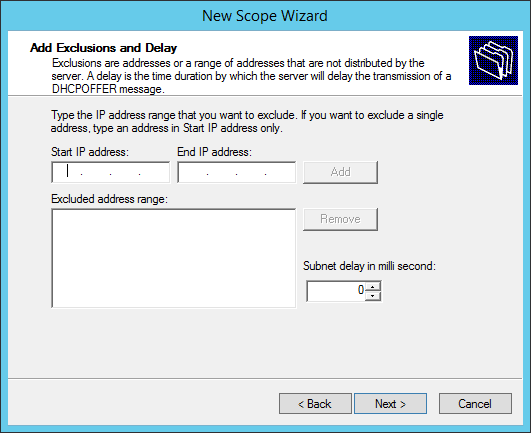
You can add exclusions to the range of IPs:
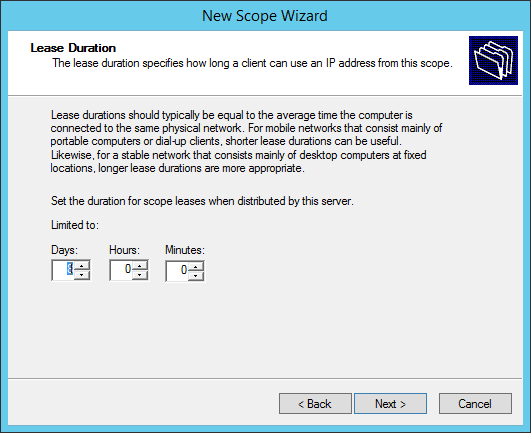
Default lease duration settings are fine:
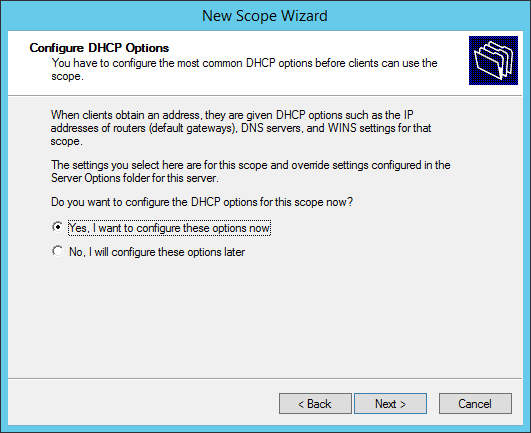
Choose Yes:
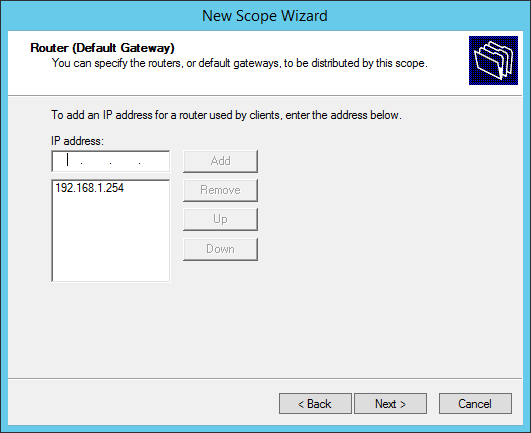
Add the gateway IP address of the VLAN (important to identify the VLAN):
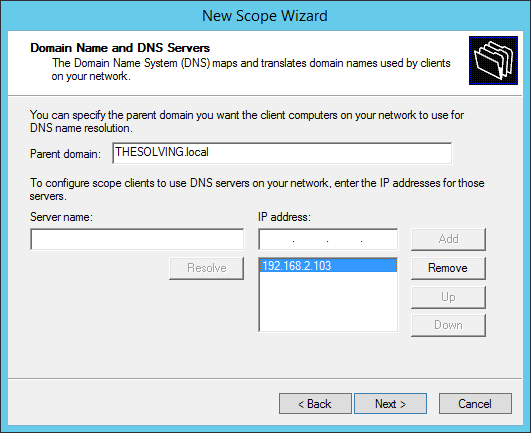
Specify the DNS servers:
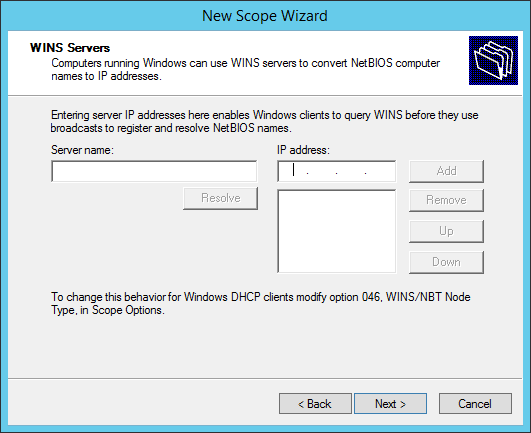
You don’t need to specify a WINS server:
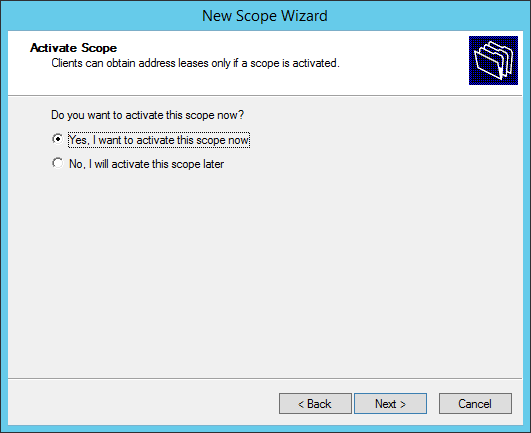
Choose Yes:
You’re ready to go!

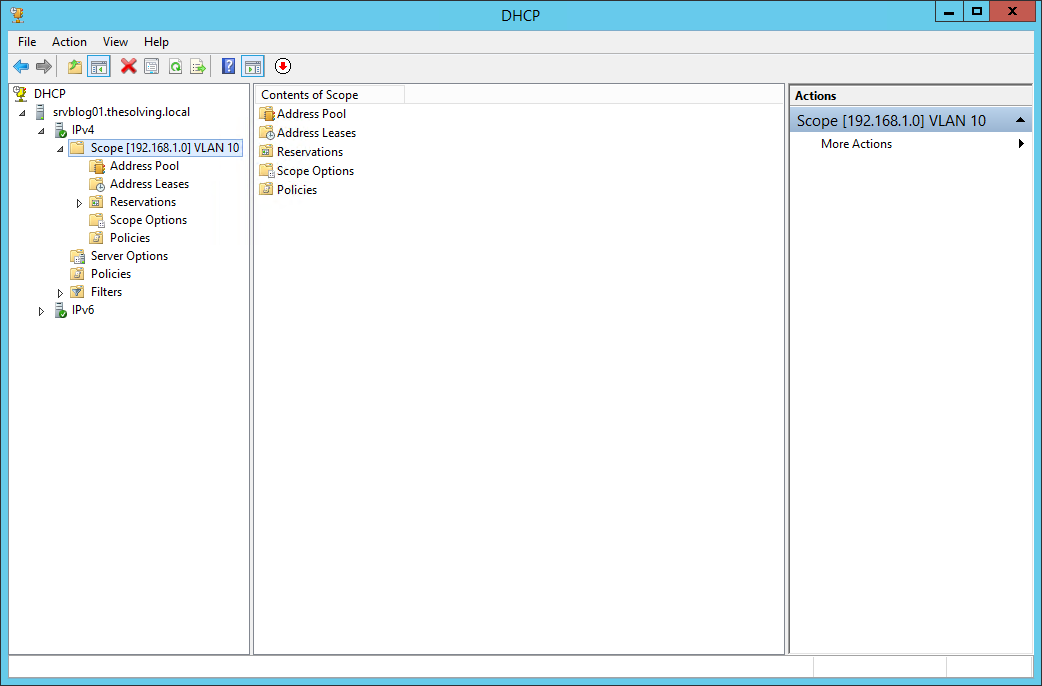
The scope will appear in the panel.
Of course you need to repeat the operation for every VLAN you want to manage through DHCP.