
Configure a Radius server on Windows Server to authenticate Cisco VPN users
A Virtual Private Network (VPN) allows to connect to a private network through the Internet, from anywhere in the world.
It may be very helpful to business users willing to access from outside the internal resources of their company.
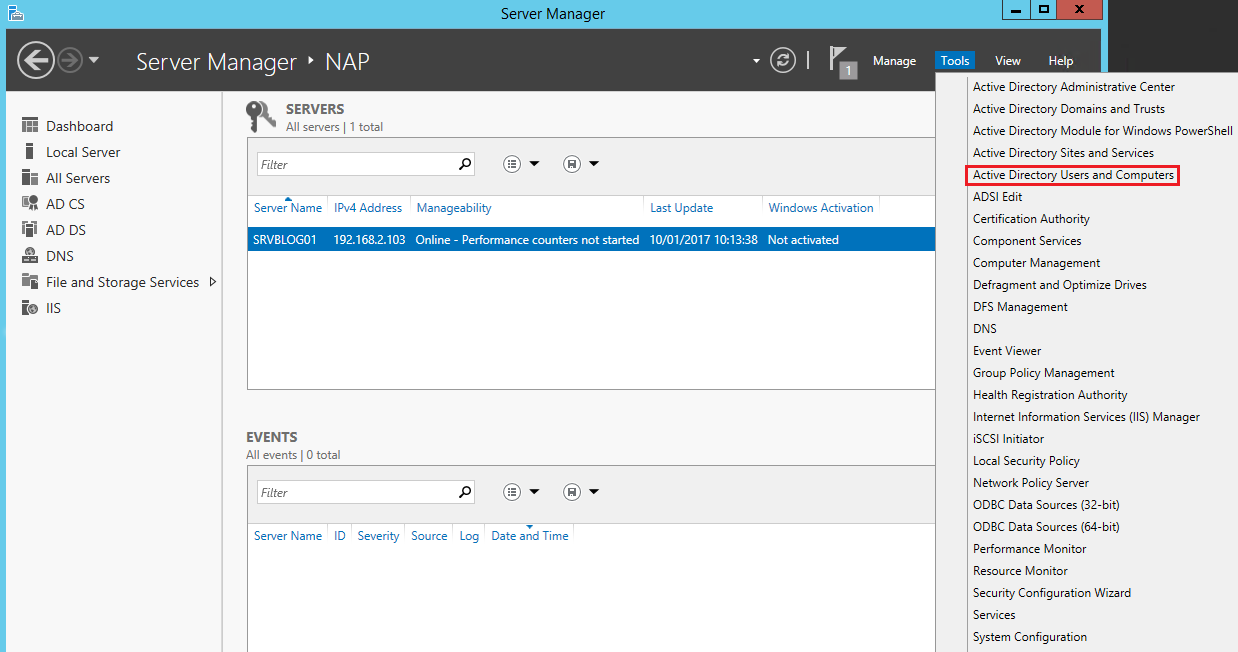
In this post we’ll see how you can allow Active Directory users to perform the login to a VPN, configured on a Cisco router.
The setup includes a Cisco 1801 router, configured with a Road Warrior VPN, and a server with Windows Server 2012 R2 where we installed and activated the domain controller and Radius server role.
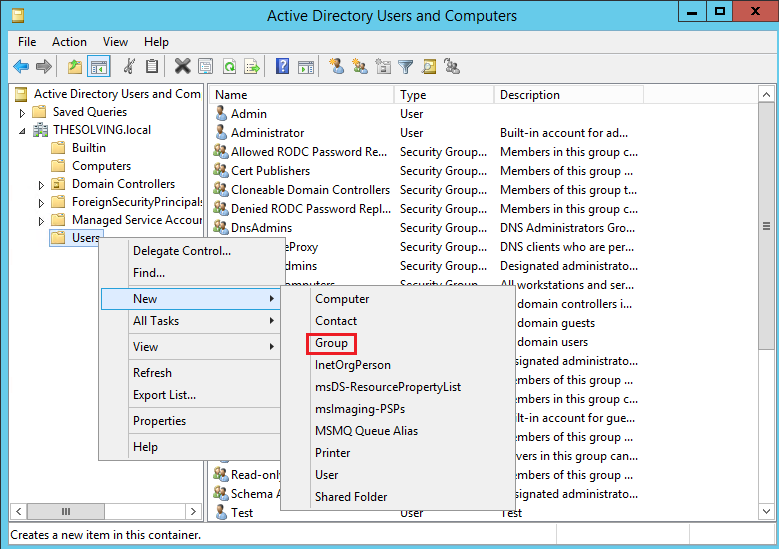
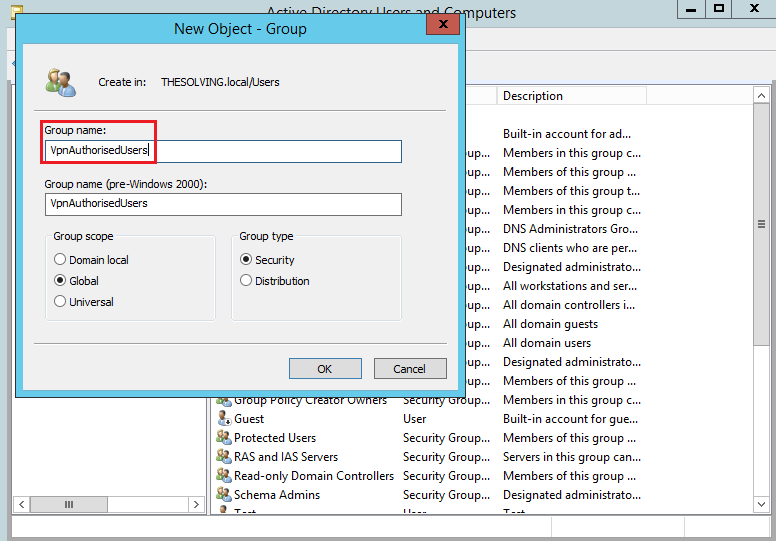
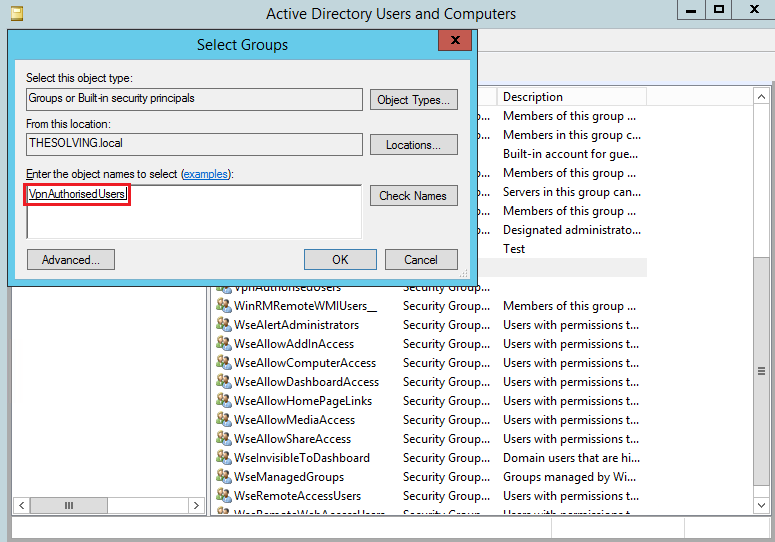
To facilitate the management of the users with the permission to access through VPN, we are going to create a specific group called VpnAuthorizedUsers:
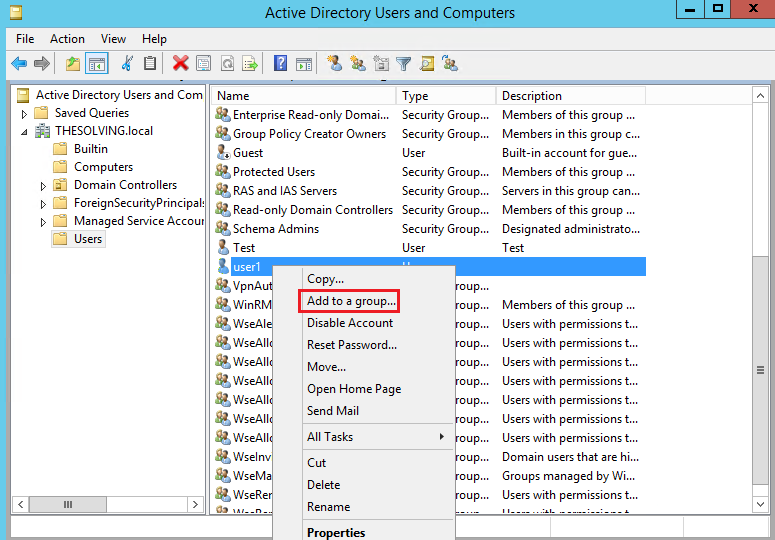
Assign the user who needs the VPN access to the group VpnAuthorizedUsers:
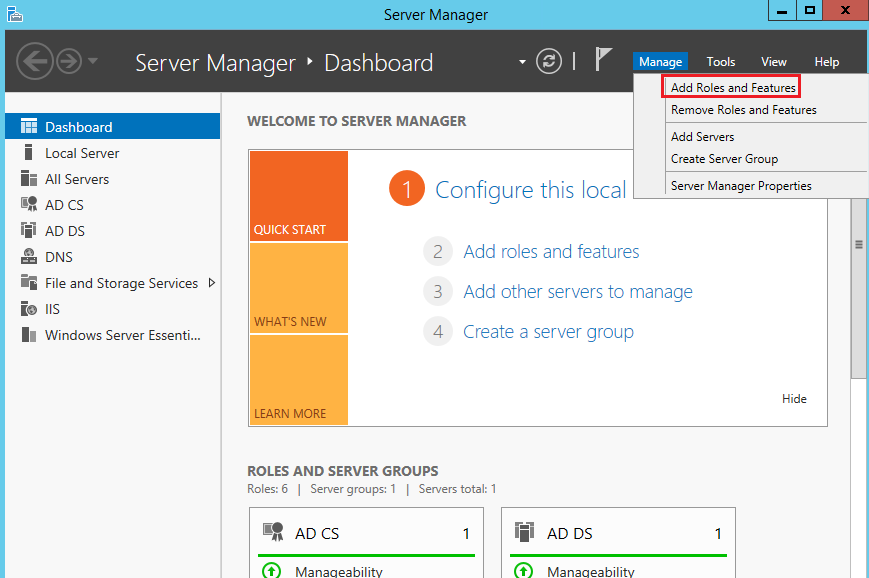
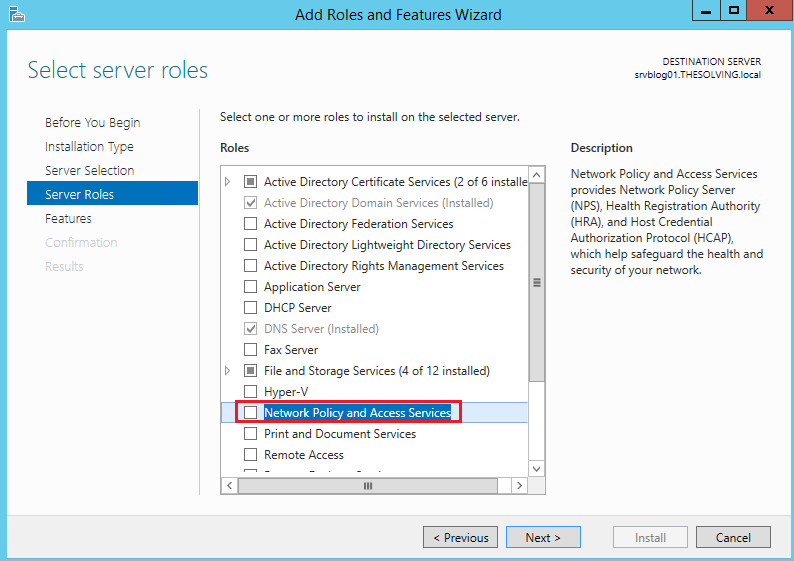
Launch Server Manager and select Add Roles and Features:
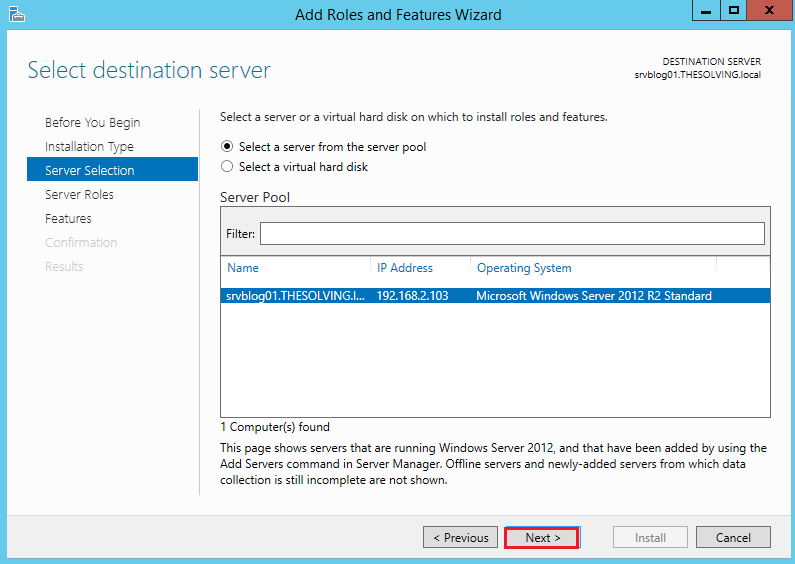
Select the server where to install the role:
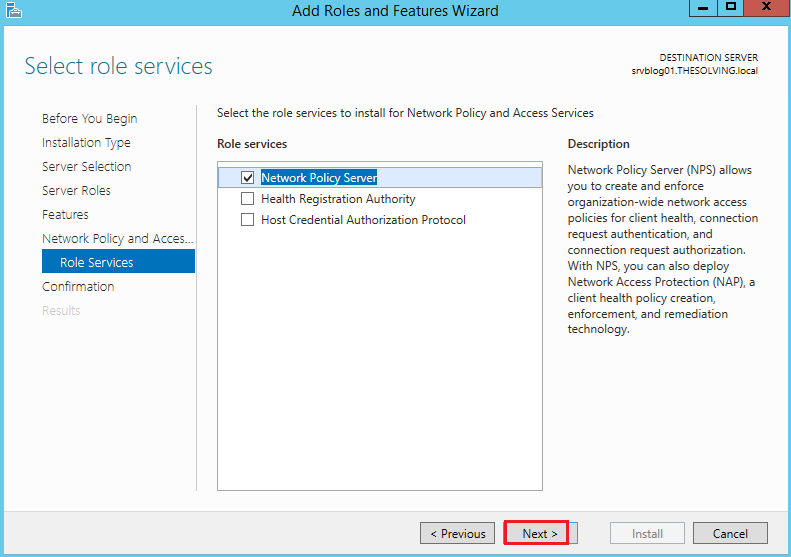
Select the role Network Policy and Access Services:
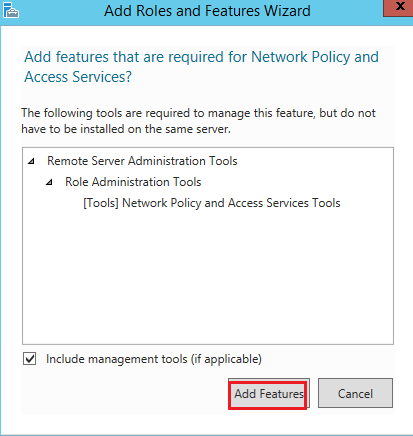
Install the required features:
Select Network Policy Server:
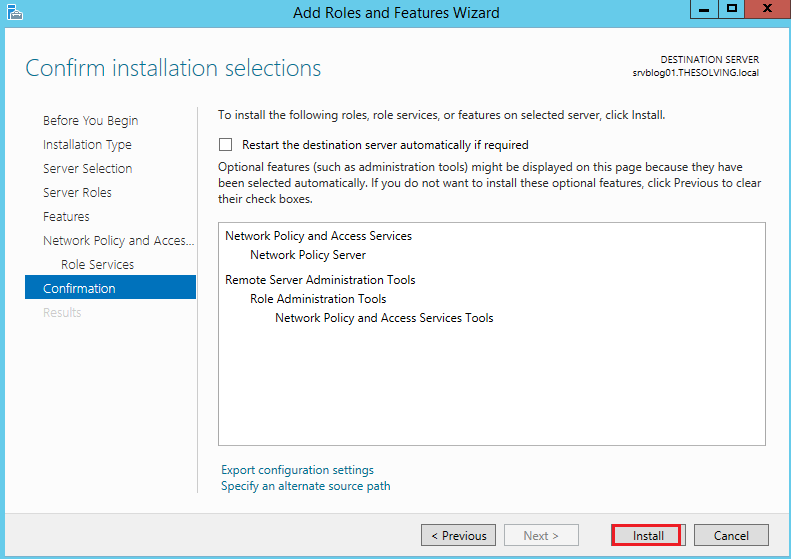
Press Install to start the installation of the role:
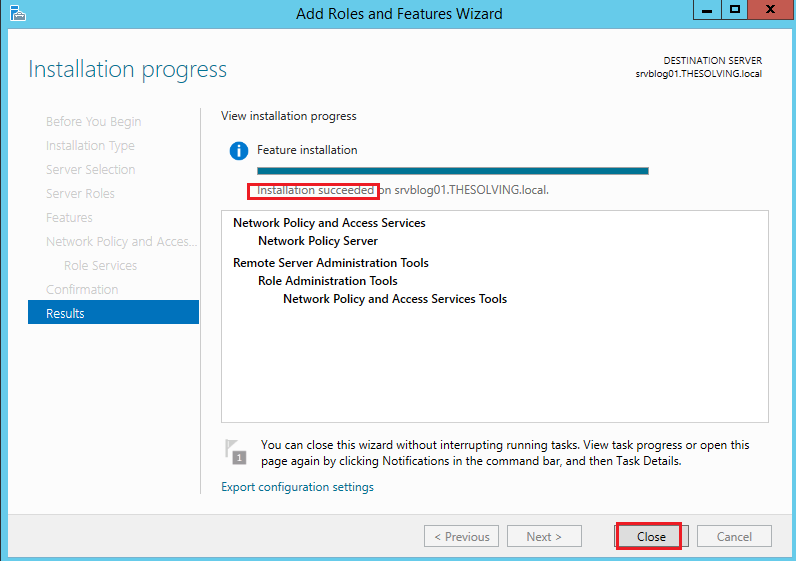
Press Close to exit from the wizard:
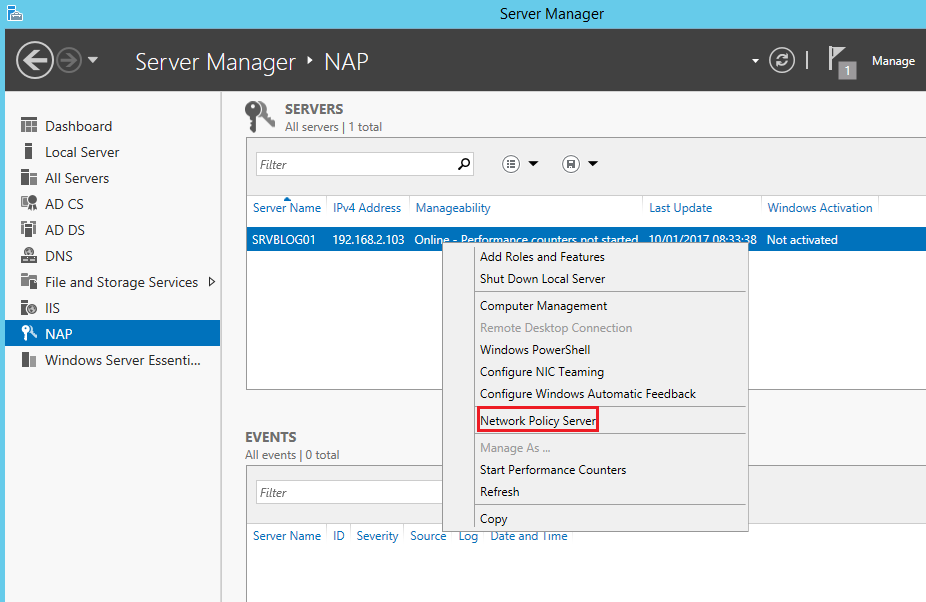
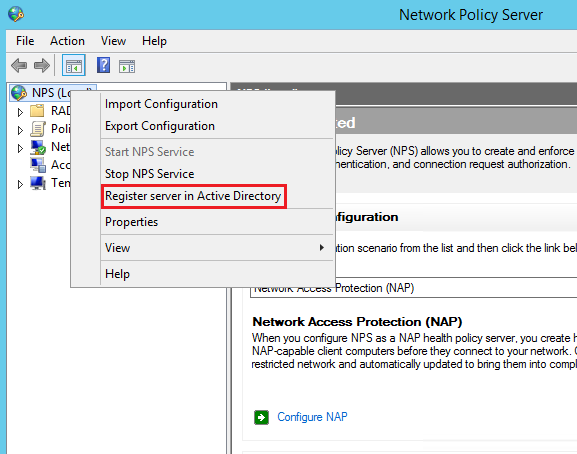
Procced with the configuration of the Radius server selecting NAP, then right-click on the server name and press Network Policy Server:
Right-click on NPS and select Register server in Active Directory:
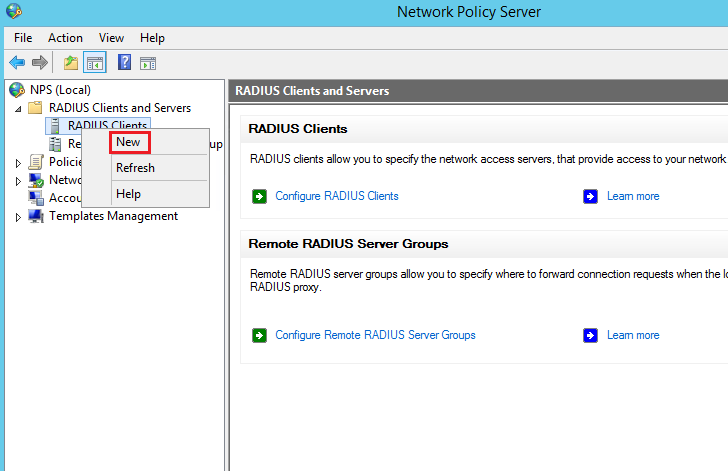
Collapse the Radius menu and right-click on RADIUS Clients:
Specify the name and the IP address of the peripheral that will forward the authentication requests to the Radius. Also specify a password for the connection:

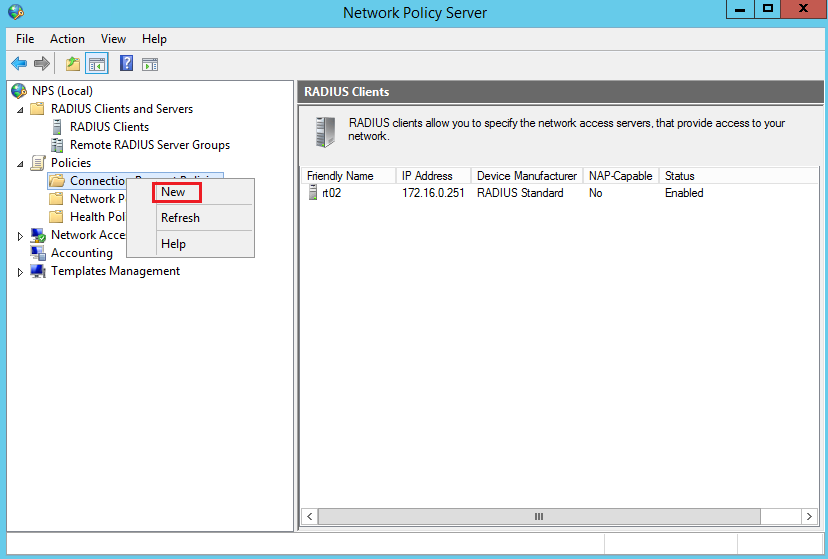
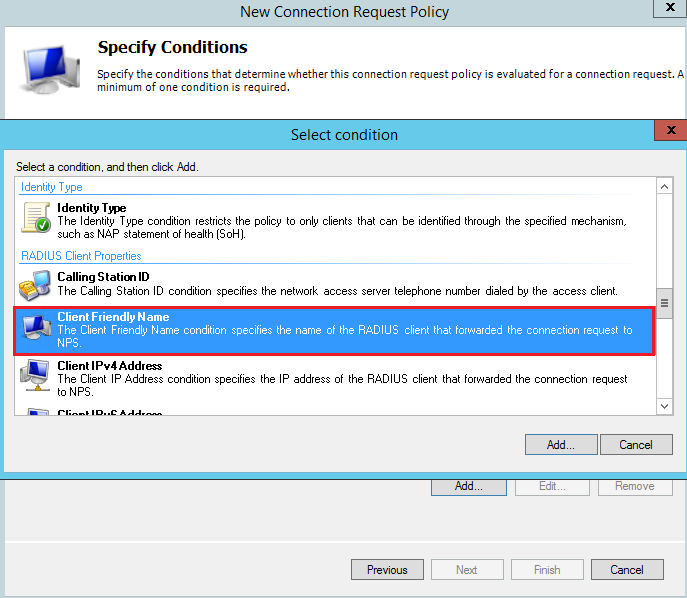
Expande Policies and right-click on Connection Request Policies:
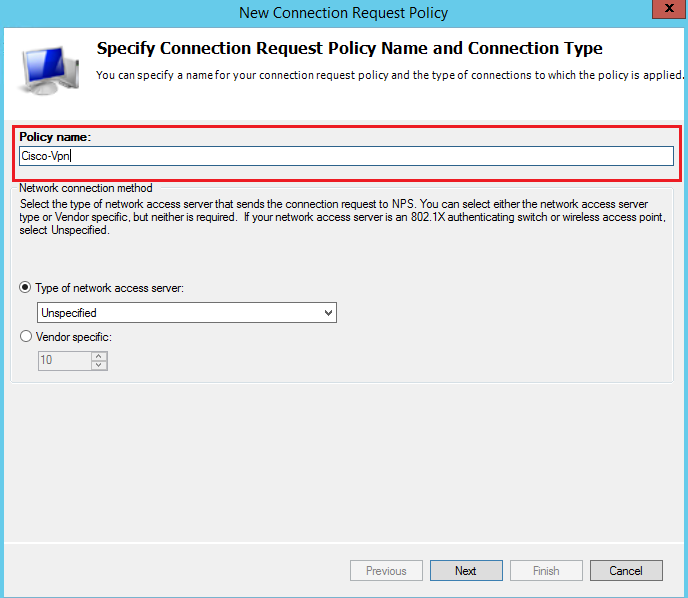
Specify a policy name:
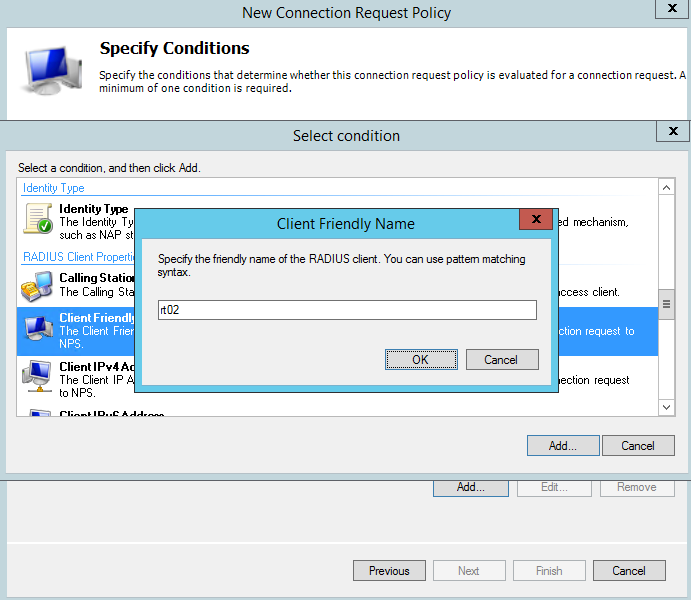
Add a Client Friendly Name condition:
Specify the same name used for the Radius Clients:
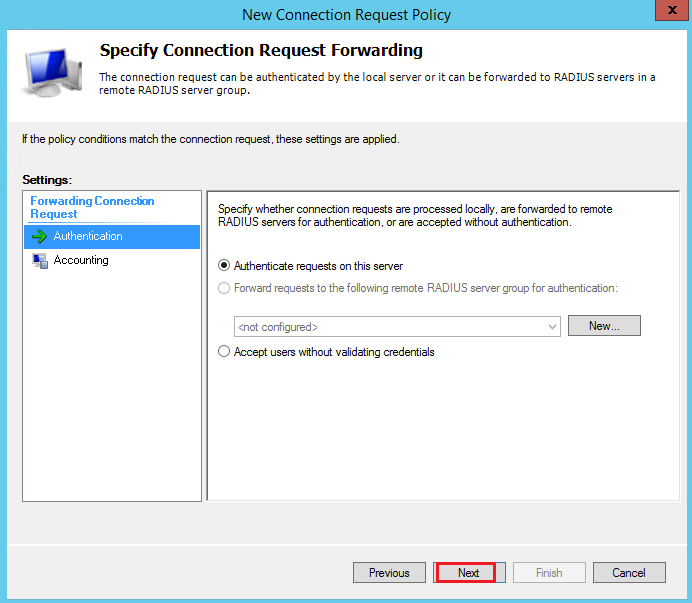
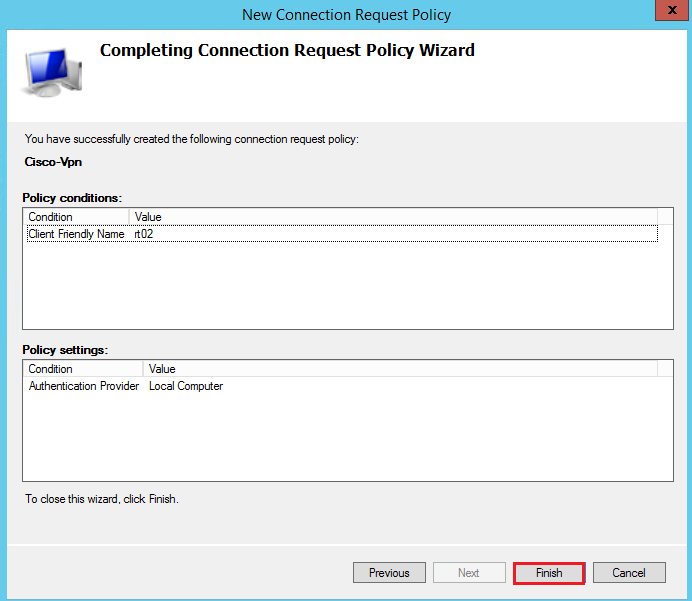
Click Next:
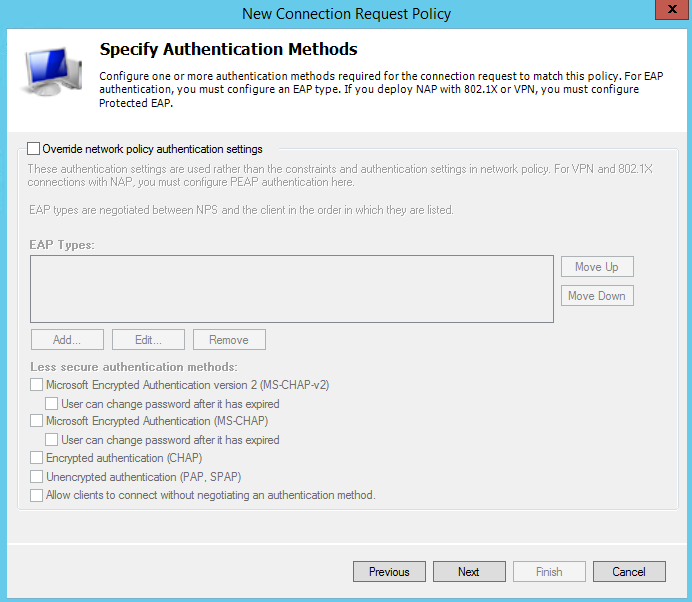
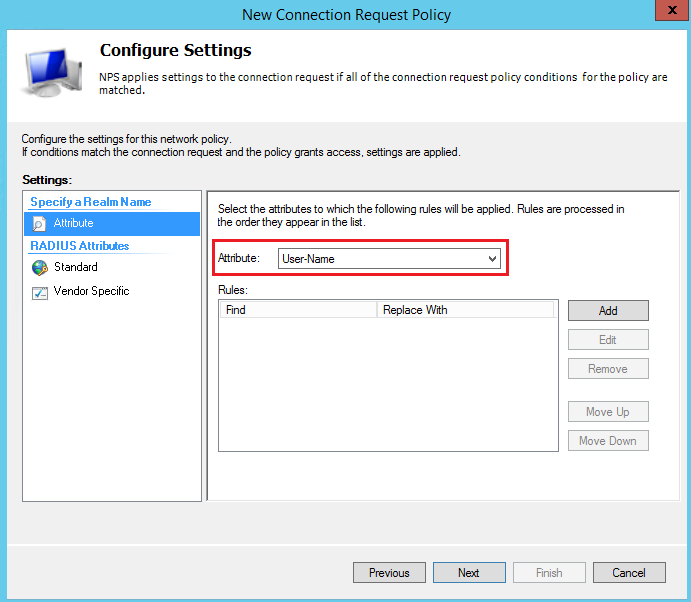
Select the attribute User-Name and click Next:
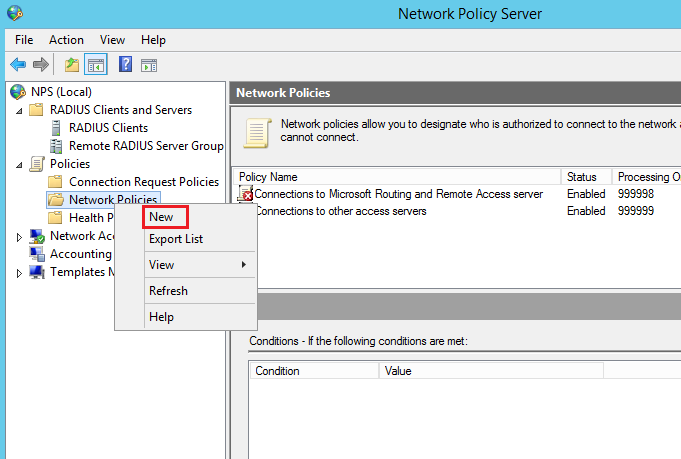
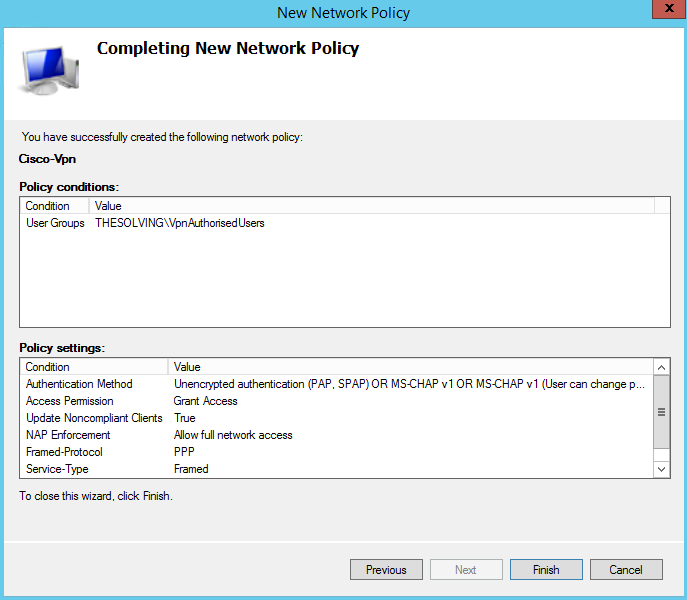
Right-click on Network Policies:
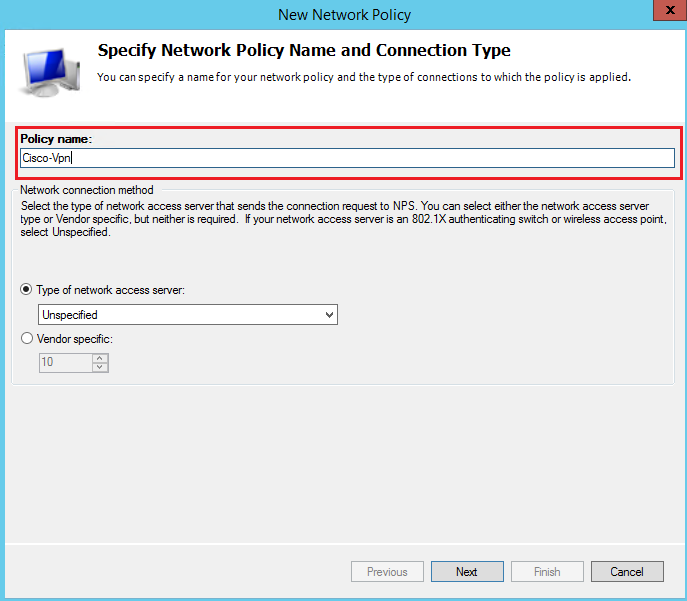
Specify the policy name:
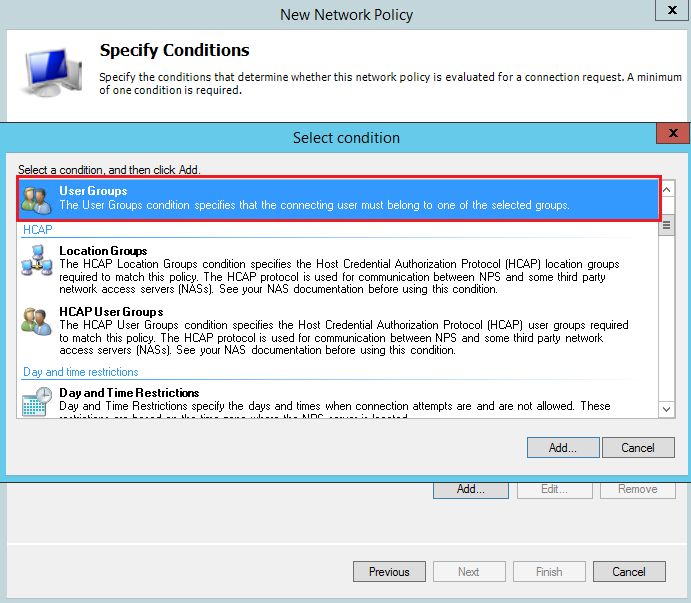
Specify the UserGroups condition:
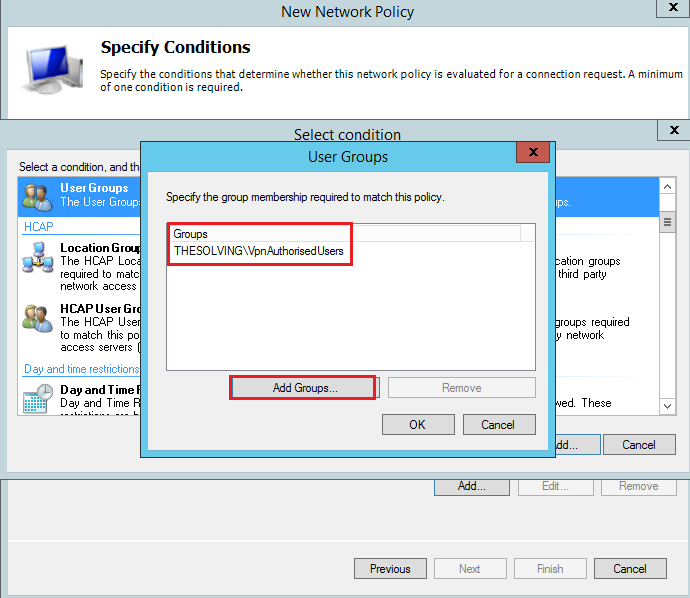
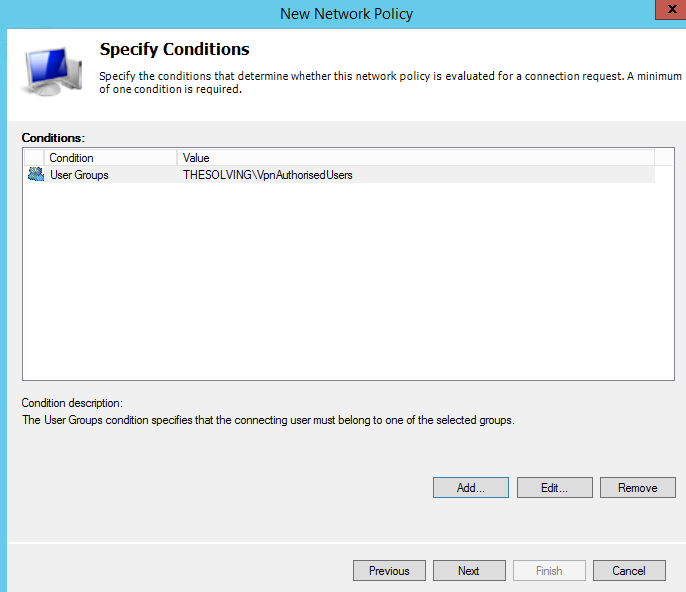
Add the group VpnAuthrizedUsers that you’ve precedently created:
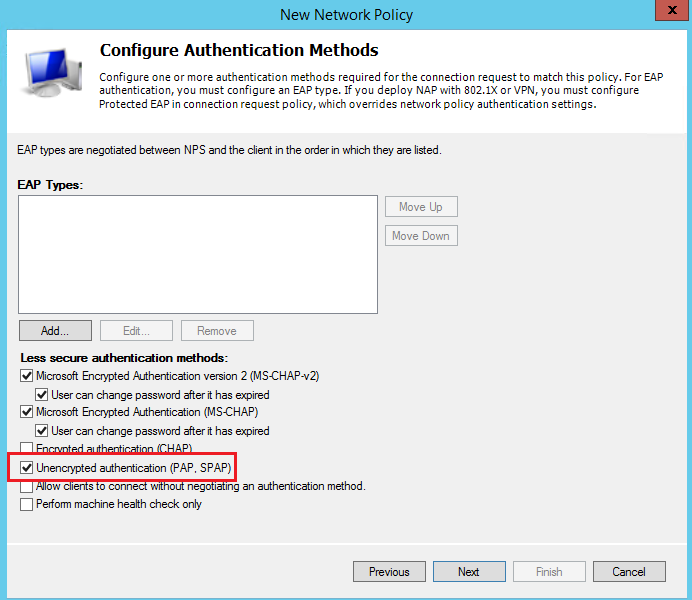
Enable the PAP,SPAP access:
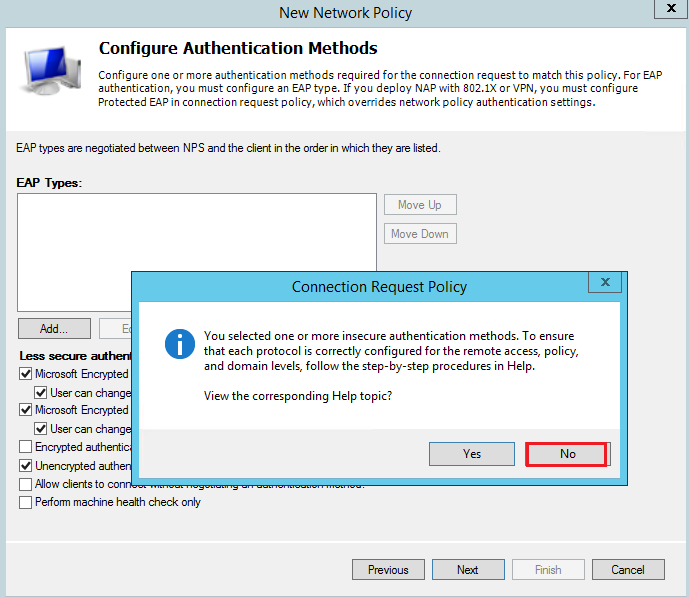
Press NO at the following dialog:
Once the Road Warrior VPN has been configured on the Cisco router, you have to enable the authentication of the VPN users through Radius.
The local command allow local users of the router to connect even if the Radius server is offline:
conf t
aaa authentication login vpnuser group radius local
Be sure the crypto map command has the same name of aaa authentication:

Access in configuration mode (Configure terminal) and specify the radius parameter with the IP address and the password specified at the beginning of the tutorial:
radius-server host 10.0.0.1 auth-port 1812 acct-port 1813 key password xxxxxxxxx